
5 Ways to Start a Yoga Class
/
How you start your yoga class matters. It sets the tone. And those first few minutes are also a chance for you to show up and command the room with confidence.
Depending on how energizing or calming you want the practice to be, you can choose where to guide students first.
As I walk into the room, I usually like to introduce myself with a simple statement, something like:
“Hi, my name is Rachel, and I’ll be teaching this 60-minute flow class.”
Or, I might go into more detail and say:
“Welcome to this 75-minute power flow. Thanks for being here. If we haven’t met yet, my name is Rachel and I’ll be guiding you through the next hour. A quick reminder to listen to your body throughout this class. If you need to skip or modify things, you have full permission to do so. Let’s get started.”
Then, I offer a simple cue telling students what to do first.
“Stand at the top of your mat, feet under your hips, arms down by your sides.”
“Let’s begin in Downward Facing Dog.”
“Have a seat on your mat. You can sit on a block or a blanket if you’d like.”
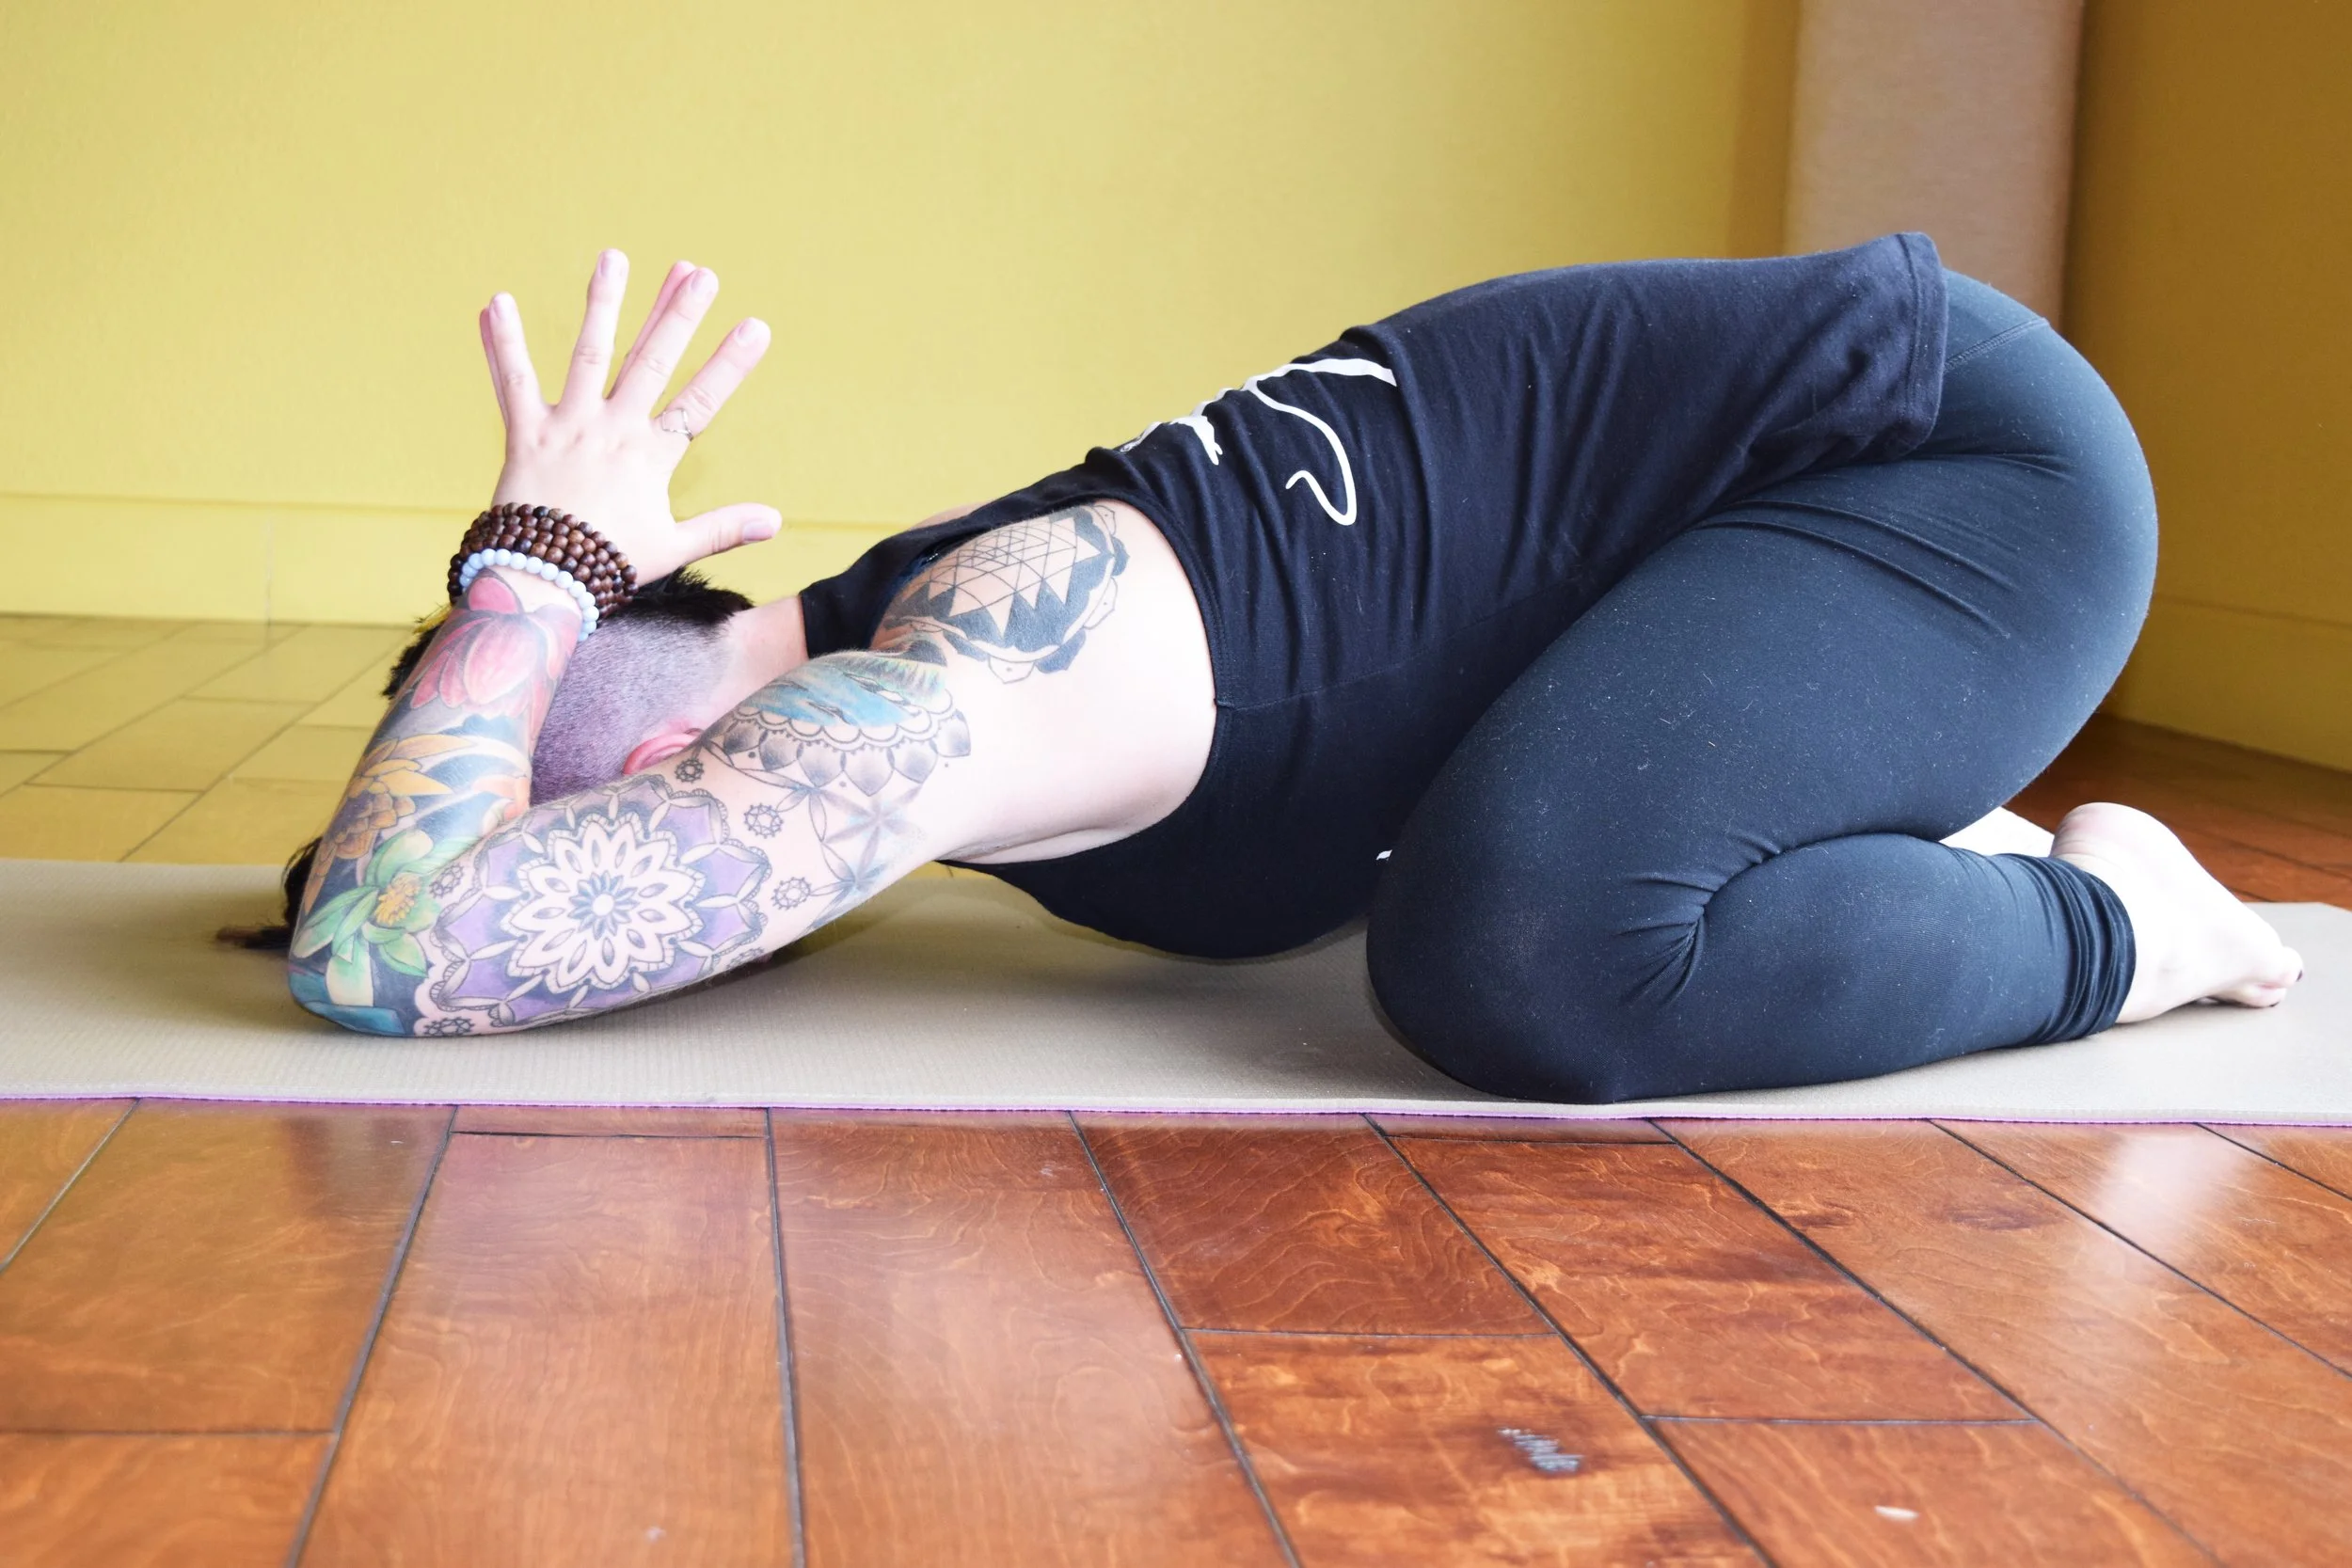
“Today we’re starting in Child’s Pose. Take your knees wide, draw your hips back toward your heels, and let your forehead rest on the mat, or stack both palms and rest your forehead on the top hand.”
“Lie down on your back and draw your knees into your chest.”
Notice how with each of these options, some are more verbose and long-winded than others. If your students are new, you may need to give more cues so they know what to do. If you have a group of regulars who have been practicing a while, there may be no need to break down what child’s pose is.
There’s always the option too of walking in the room and noticing how students have already arranged their bodies. Are most of them sitting? Are all of them already lying down?
You can read the energy level in the room by seeing what students are doing right before class starts, and you could use that as inspiration for where to begin.
Or maybe just the opposite!
If you can tell that the group seems tired, but it’s winter and you’re offering a class aimed at giving relief from seasonal depression, maybe you start them in Downdog or standing, to give a hint that you’re going to kick it up a notch during the practice.
Sometimes we teach to match the energy of the room; sometimes we teach to offer a counterbalance to it.
Over time, you’ll get better and better at how to do this intuitively. Here are some options for what to say at the beginning of your yoga class, depending on where you have students start.
Start from Standing (Straight into Sun Salutations)
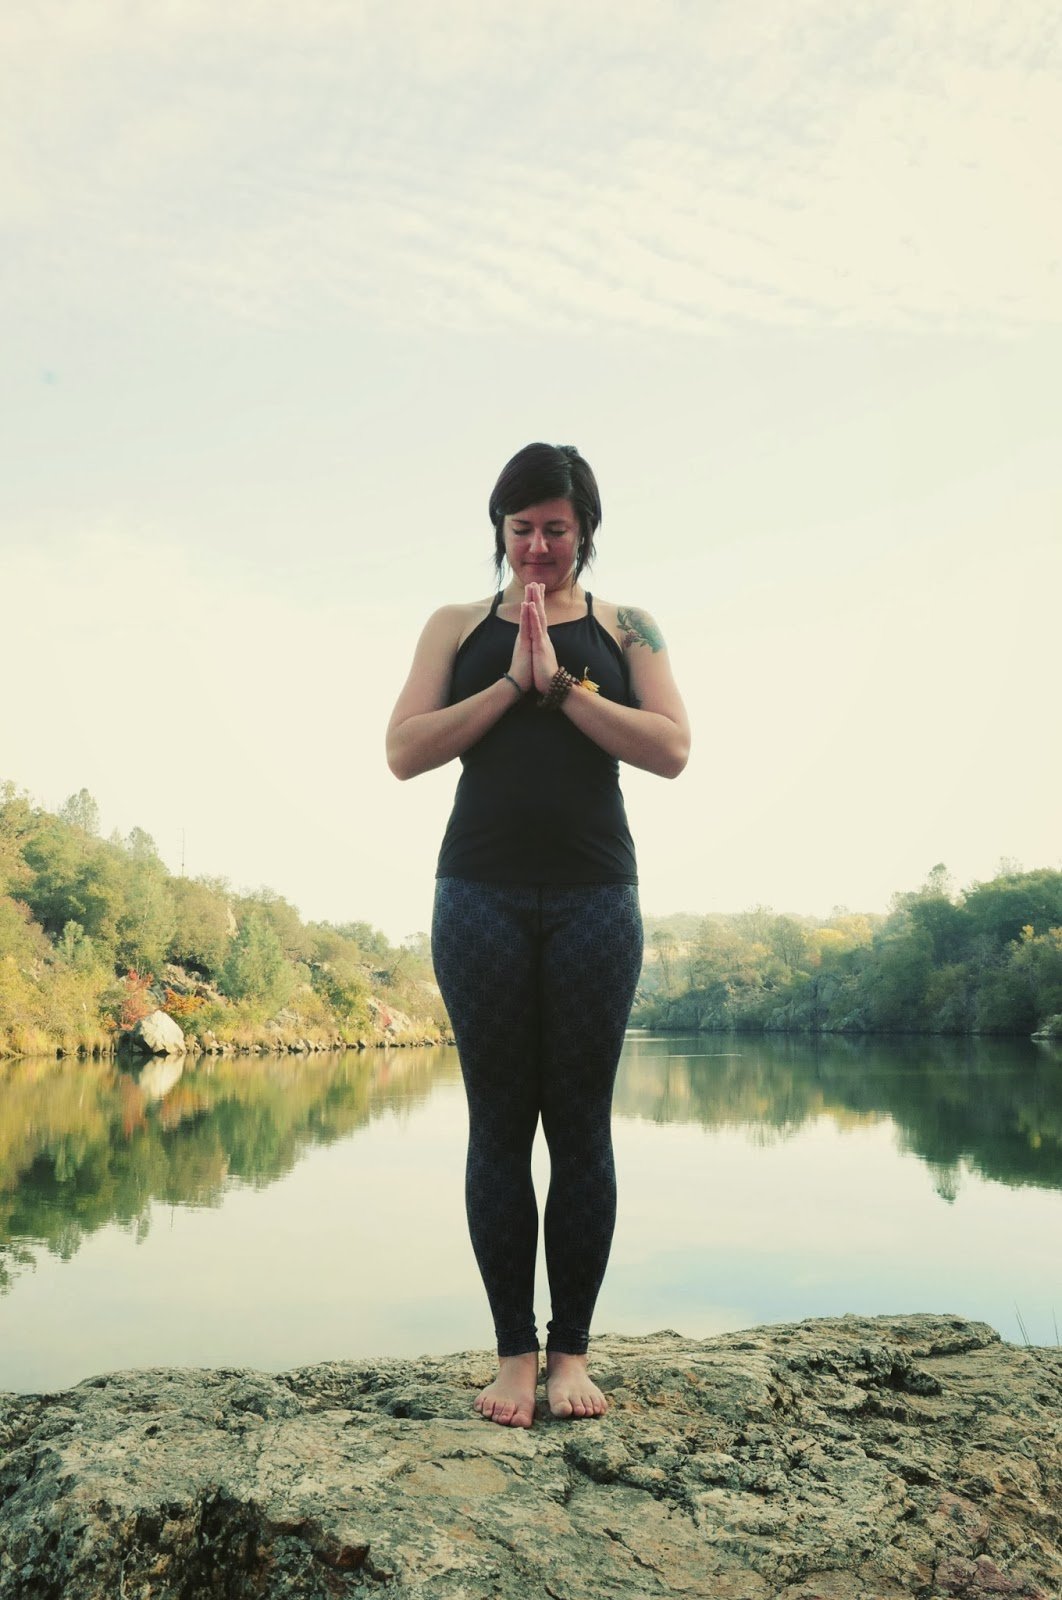
When you start students in Mountain Pose (Tadasana), a standing position, you’re naturally immediately implementing balance and a grounding, energizing aspect to the practice. You might cue the breath by inhaling to reach your arms overhead, then exhaling them down by your sides again (or into prayer in front of the chest).
You might have students close their eyes and notice all four corners of their feet grounding down into the mat.
You could have students set a drishti, or gazing point, and focus on their breath before adding in movement.
Starting in a standing position naturally lends itself to moving straight into sun salutations, too. Starting with a Half Sun Salutation, then adding on full Sun Salutation A and Sun Salutation B variations.
Start from Downward Dog (Fire Up the Core)
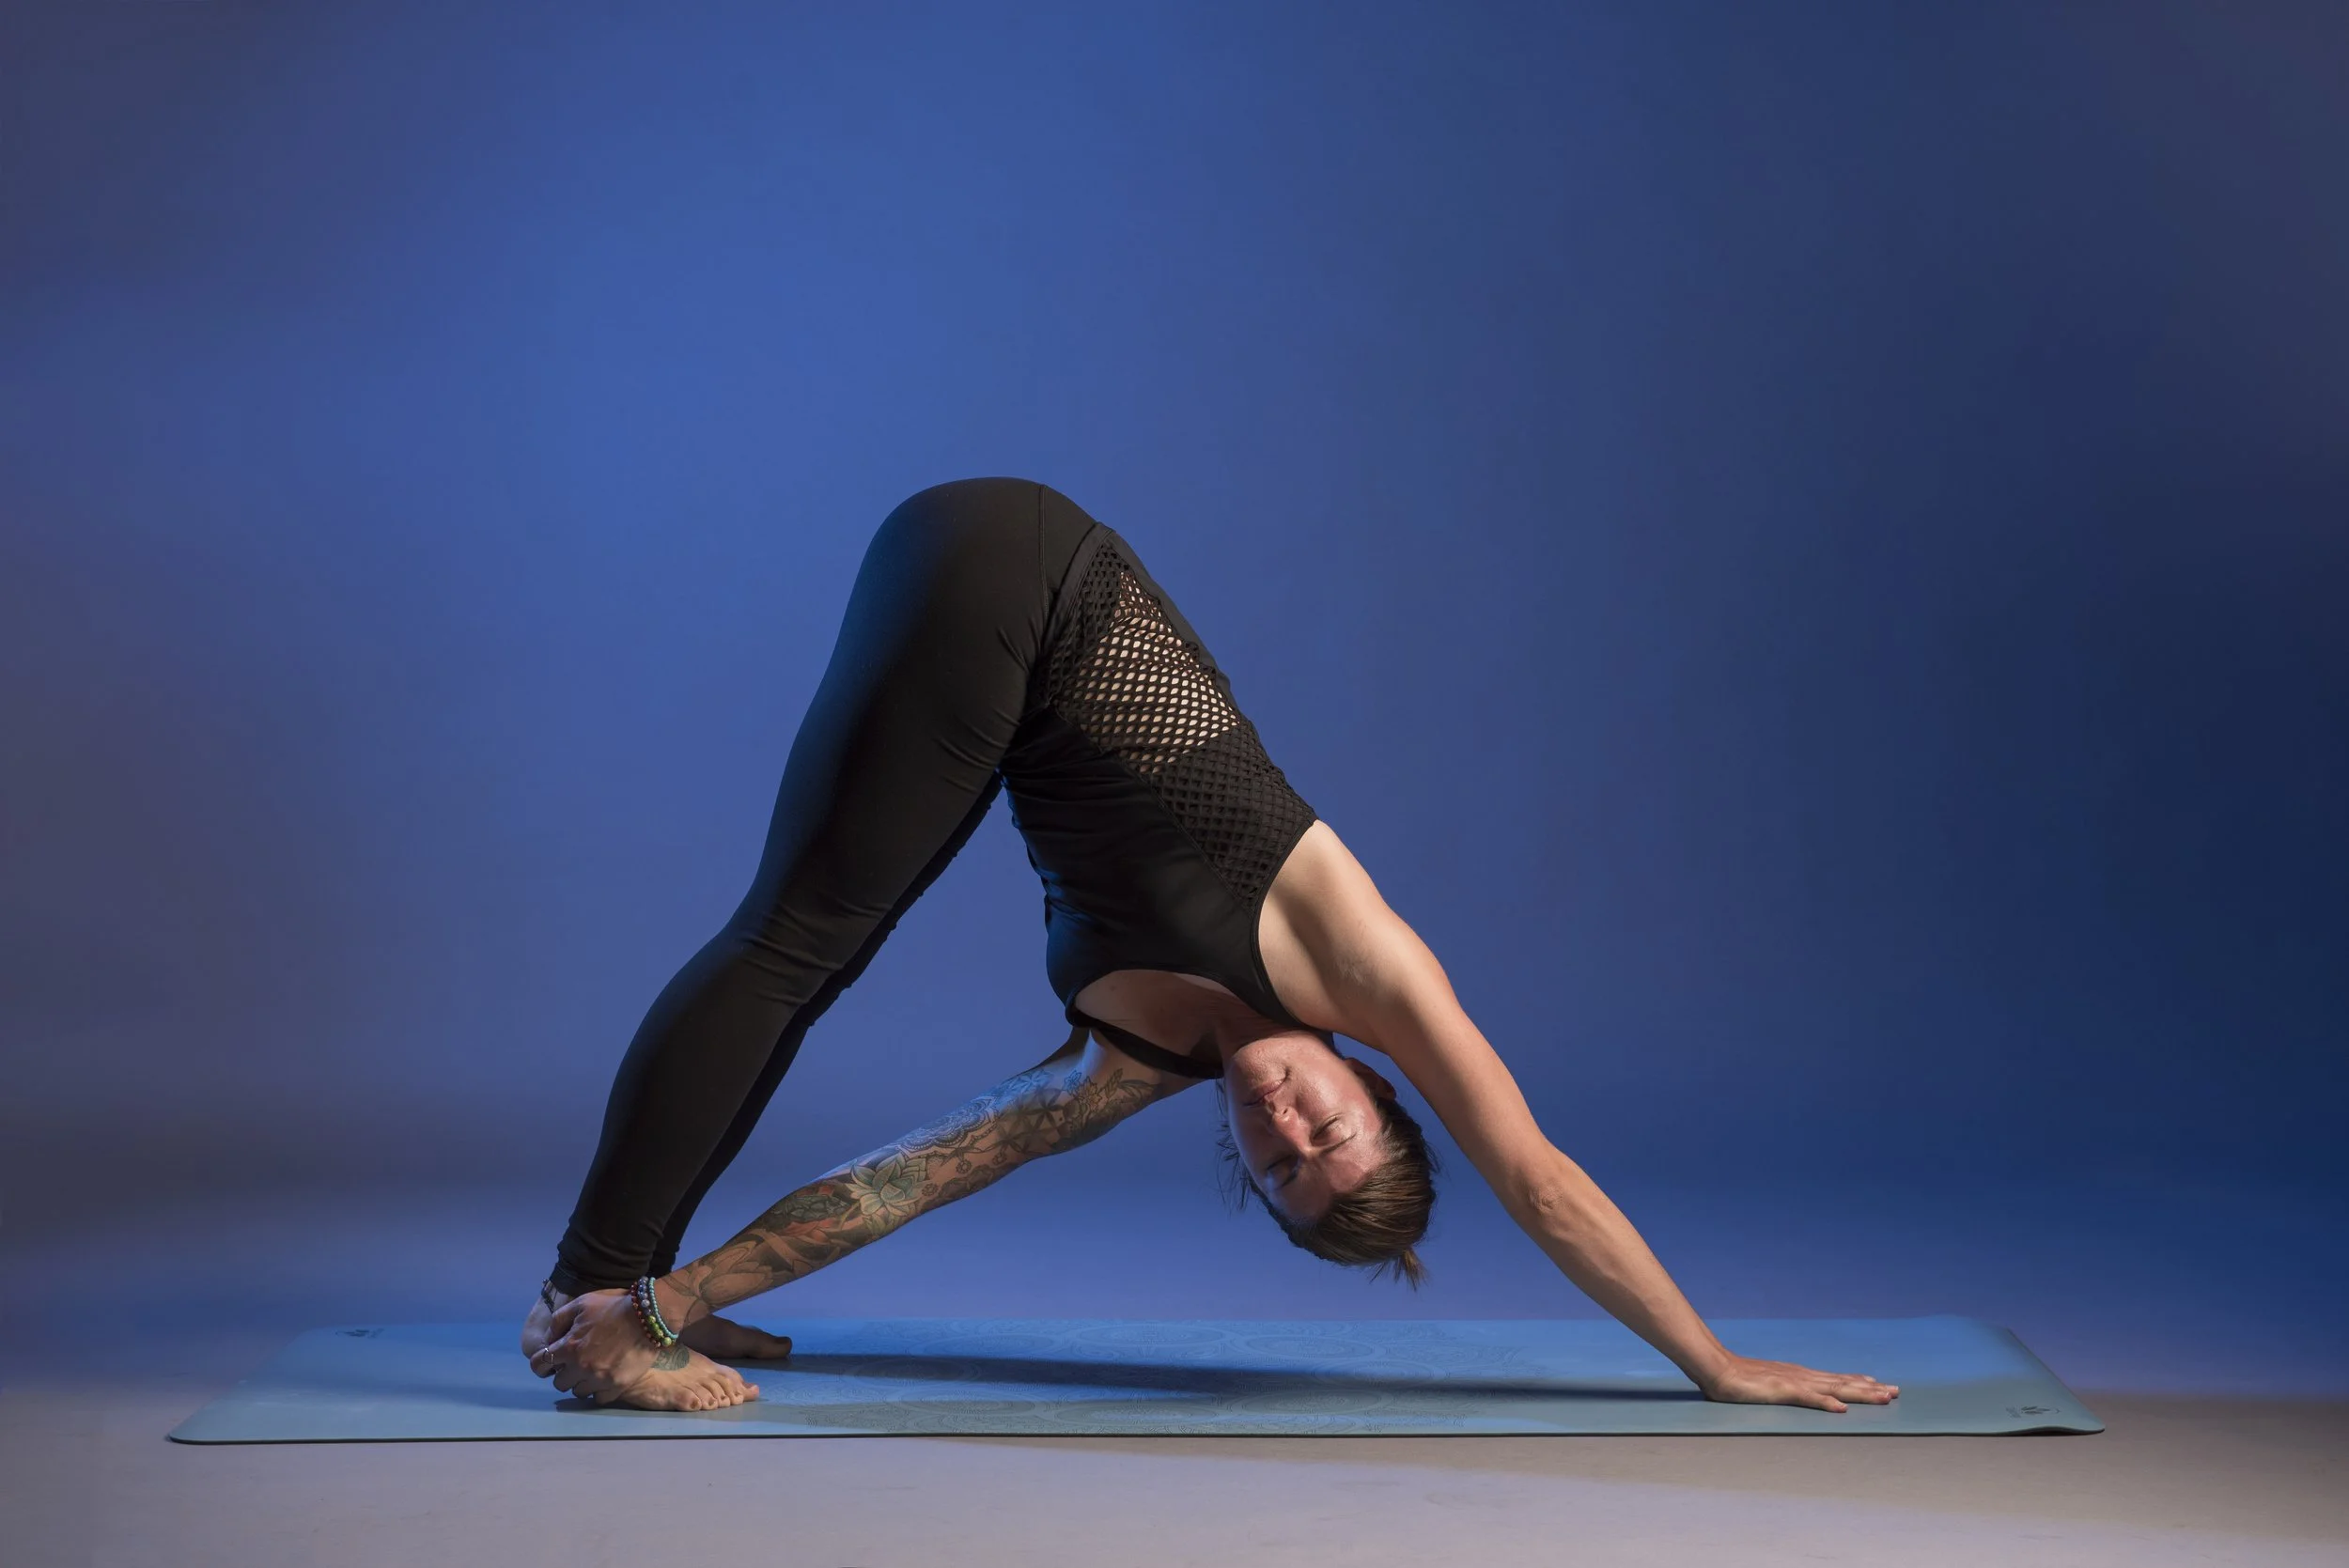
Ah, Downward Dog! One of my favorite poses and always a great place to start class. When I have students start in Downdog, it’s usually because:
I’m going to teach a vigorous practice
Most of the students in class are familiar to me and I know they’ve done yoga before
If I’m teaching somewhere for the first time, or know that some of the students are brand new, I don’t start in downward dog. For a few reasons. First, Downdog is an inversion pose and when people are upside down, they struggle to hear what you’re saying as well as if they were upright. My goal is not to confuse students right off the bat! And new students are often nervous so if you get them in a pose they aren’t familiar with and give a ton of cues, you could lose people.
Also, downdog involves sticking your butt in the air hahaha. So for a new student it may be a little uncomfortable. Start with something more approachable, then work into that.
If you are going to start in downdog and you’re working with a group of more experienced yogis, consider leveling up the downdog:
Encourage them to find stillness instead of fidgeting.
Focus on the breath and cue ujjayi pranayama, the breath sound at the back of the throat (no mouth breathing) to begin to cultivate heat.
You could bring in some hip stretching and have students move into three-legged dog, or have them bend the knee and open the hip (on each side).
A twist in downdog is a great challenge too. One hand plants in the center of your mat, the other reaches across for your back calf/shin/ankle. This is a lot of balancing and core strength right from the start.
Hovering the knees a few inches off the mat is a good challenge to get the core activated.
You can also move between high plank and down dog for a core burner!
A few breaths in downdog followed by a wrist warm up sequence can be great too.
Where you go from down dog is entirely up to you. Maybe it’s into child’s pose for a rest. Maybe it’s into sun salutations. Maybe a warrior flow series.
And don’t be afraid to workshop downdog a little bit, if you’re noticing lazy habits from your students like:
Cupped hands/ inactive fingers
Shoulders creeping up by the ears
Students constantly moving, unable to focus
A need for more engagement in the core or a slight bend of the knees to get more spinal extension
Have fun with it! Most students could use a little “makeover” for their downdog pose.
Start from Seated (Meditation, Breath, Intention Setting)
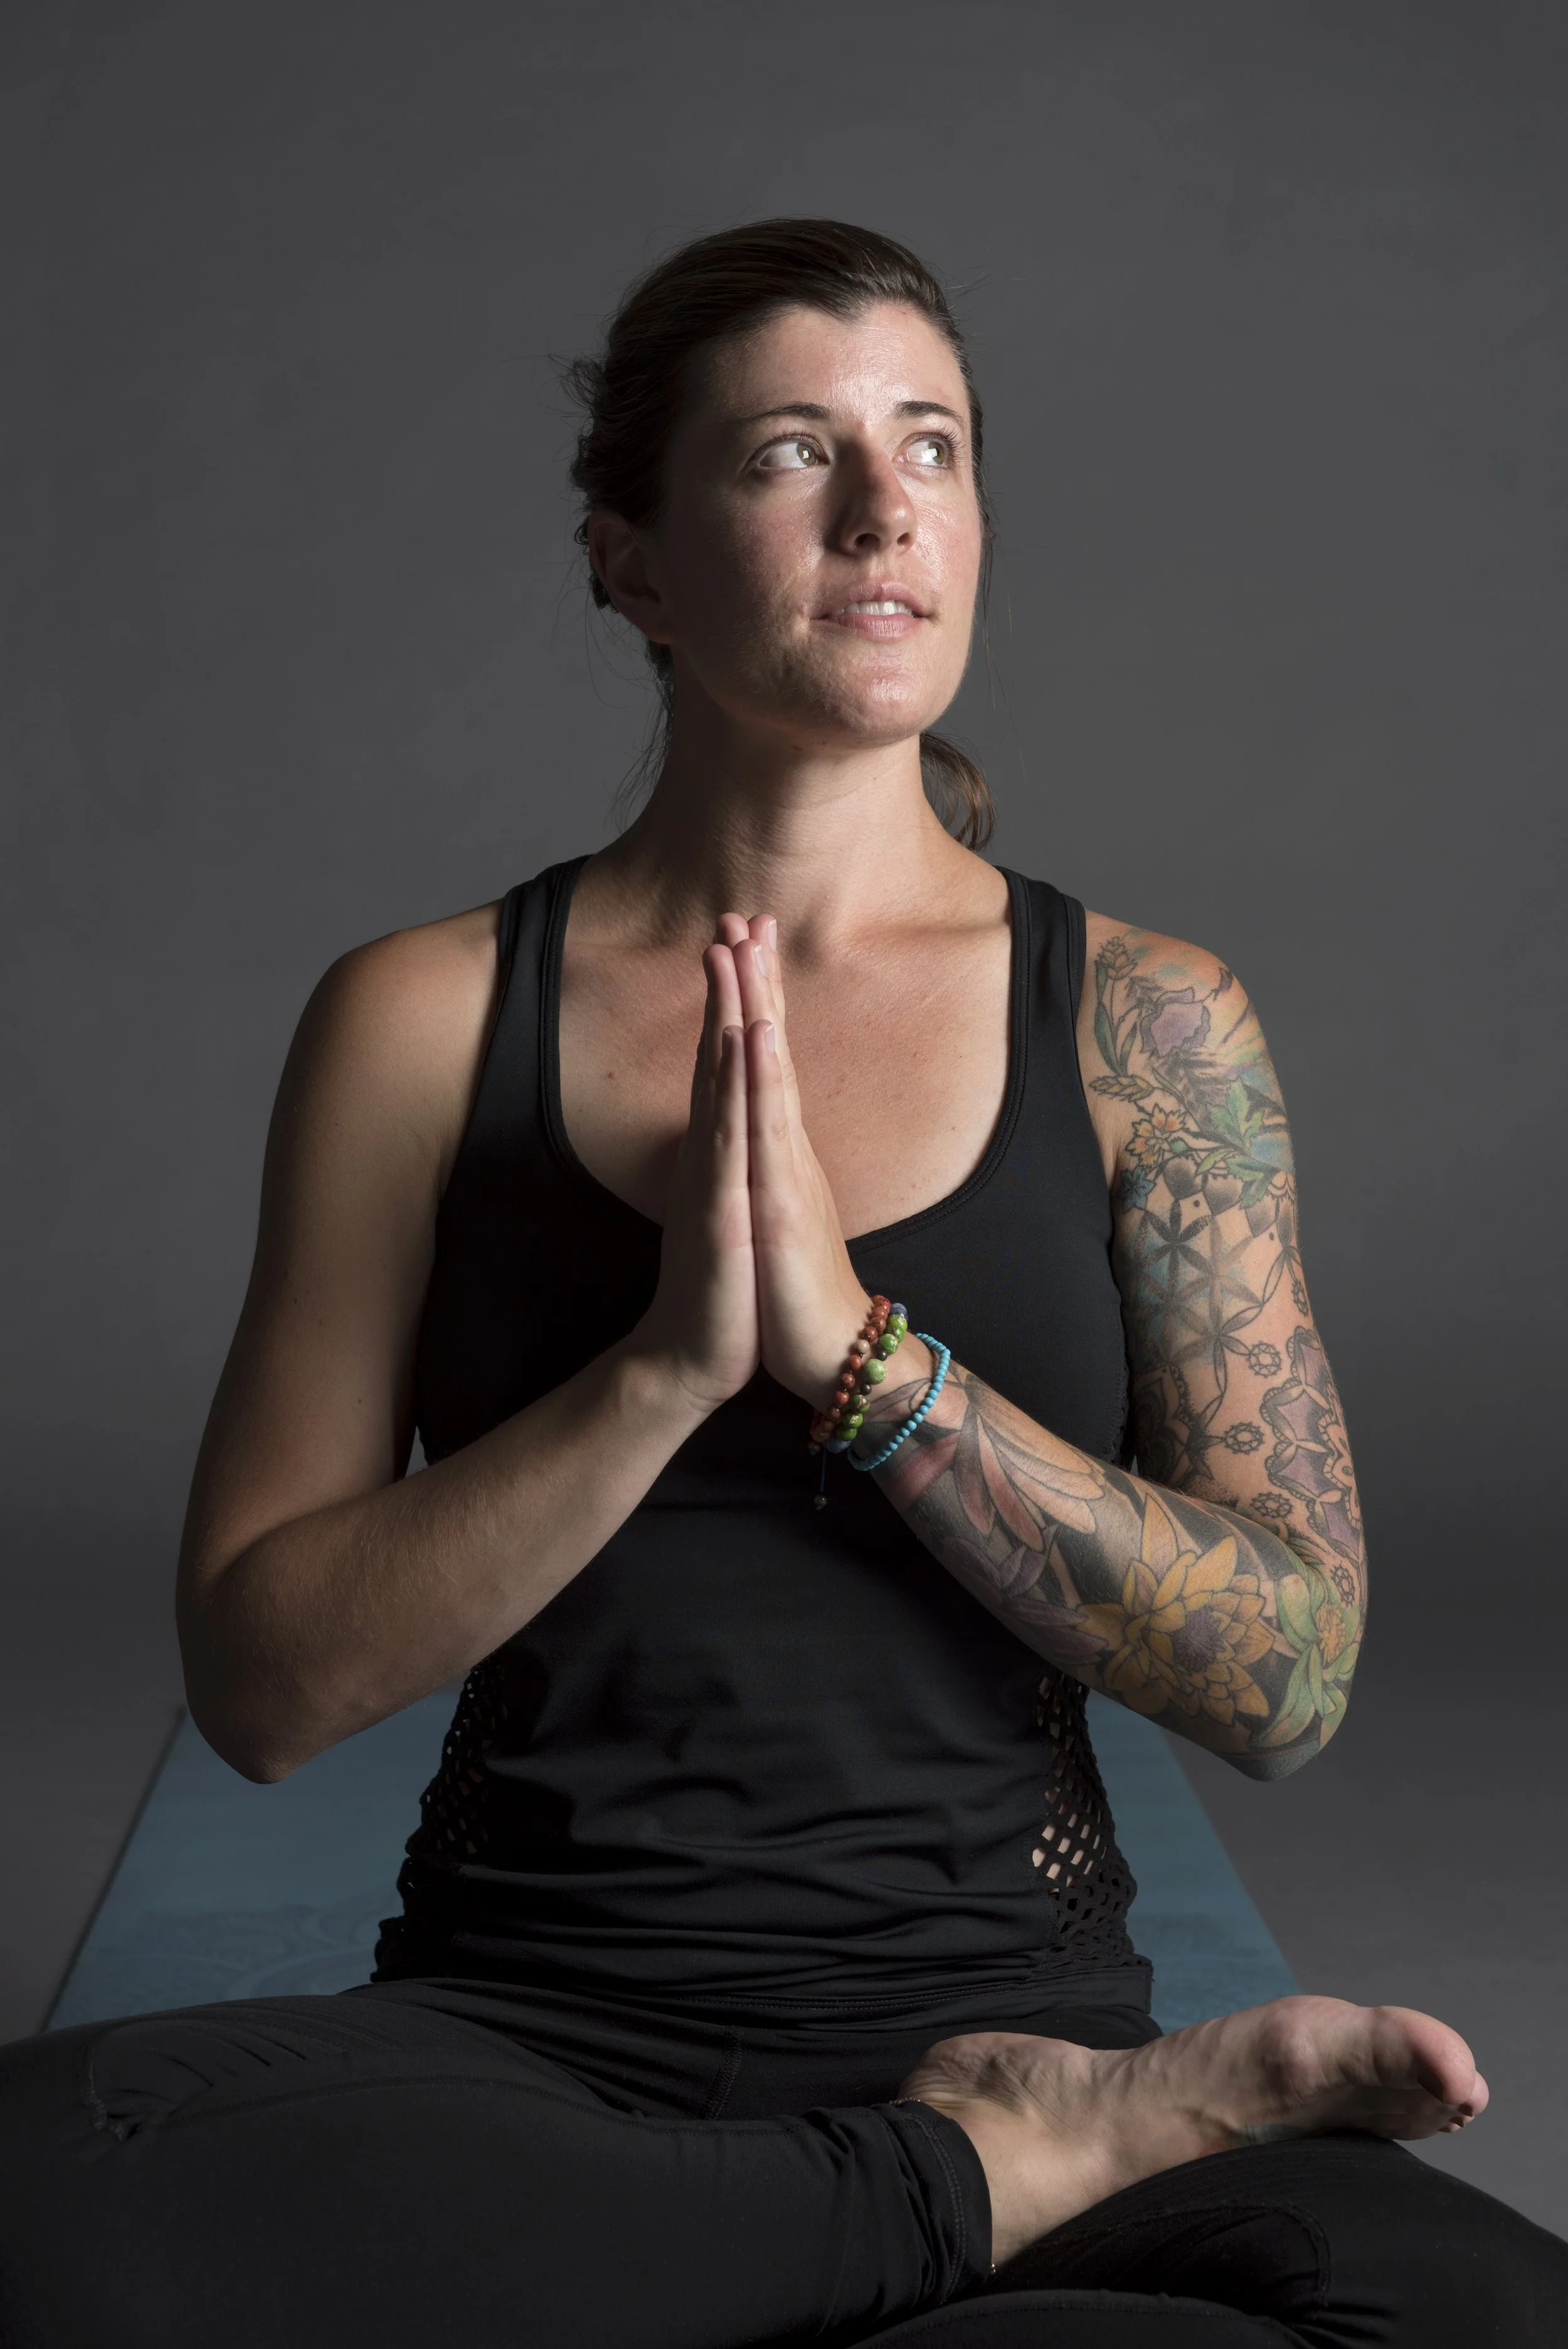
Starting from a seated position is a great way to begin a yoga class. This is a wonderful way to connect with your students—to see them, engage with them, and encourage them to making mindful breathing the foundation of their practice.
Where you go from a seated pose to start class is entirely up to you… you could transition to:
Gentle seated movements like side bends or twists
Neck stretches and seated chest openers
Seated cat/cow or sufi grind (spinal circles)
Table top (all fours) and into Cat/Cow
Through table top and into Child’s pose or Downward dog
Here’s a quick example of one yoga sequence (yoga opening script) you could build off of after starting from a seated pose:
Seated Breath Awareness
Find a comfortable seat. Close your eyes and bring your awareness to your breath. Inhale through your nose... exhale through your mouth. Take another clearing breath like that. Inhale deeply, exhale fully. Now let’s bring in ujjayi pranayama, breathing just through the nostrils.
Close your mouth, gently constrict the back of your throat, and hear the sound of your breath at the back of your throat, almost like an ocean wave sound.
Keep the breath moving steadily through your nose.
Neck + Shoulder Rolls
Let’s move the head and neck to start to warm up. Slowly let your head fall forward, moving one ear toward one shoulder. Start with slow circles of the head. Go this direction a few times. Then switch and go the other way. We’re looking for mindful, slow movement here. Keep connecting to your breath.
Now, some shoulder movement. Roll your shoulders forward a few times. Then back a few times.
Seated Side Stretch
Inhale, lift your right arm up and over to the left for a side body stretch. Exhale to center. Switch sides.
Tabletop + Cat-Cow
Come onto all fours. Inhale to cow pose, drop your belly. Exhale to cat, rounding your back. Move with your breath for a few rounds. Go at your own pace.
Bird-Dog Pose
From tabletop, reach your right arm forward and your left leg out long. Exhale to lower them back down. Again, inhale reach long, exhale lower. Switch sides. Inhale, reach your left arm forward and your right leg back. Exhale, place your hand and knee back down.
Move slowly and with intention.
Child’s Pose or Downward Dog
Stretch into your choice of child’s pose or downward dog. Stay for 3–5 breaths.
Low Lunge + Cactus Arms
Step your right foot forward into low lunge. Inhale, lift your arms, then bend your elbows wide like cactus arms to open the chest. Exhale to release. Plant your hands and step back to downdog.
Inhale, step your left foot forward. Low lunge. Inhale lift up your arms. Exhale, bend your elbows and lift your chest. Breathe.
From here you could go into more sun salutations or work toward whatever peak pose you’re building into class.
Start from Child’s Pose (Incorporate Mindfulness, and Give Yourself a Moment to Collect Your Thoughts as the Teacher)
Child’s Pose is a great opener, because it can be used for a slow, restorative class—or as a way to get grounded before moving into a faster flow.
One great thing about child’s pose is that the class will be looking down towards the mat, not making eye contact with you, the teacher. So if you’re nervous and need a moment to yourself, getting them in Child’s Pose is one way to create it!
Here’s an example of where you might go next, after Child’s Pose.
Child's Pose
Let's begin in child's pose. Spread your knees as wide as is comfortable, reach your arms out in front of you and rest your forehead down on the mat.
Take a few deep, steady breaths.
Tap into a sense of spaciousness and expansion in your body. Take another smooth breath in, and a smooth breath out.
Tabletop Pose
With your next inhale, gently lift yourself up into tabletop pose, coming up to your hands and knees.
Cat-Cow
Let’s move through a few rounds of cat and cow pose. As you inhale, drop your belly, lift your gaze; as you exhale, round through your spine and bring your chin to your chest. Inhale, your belly drops and your heart lifts, exhale, round through your spine. Keep moving here, flowing with your own breath, feeling the sensations in your body.
Thread the Needle (Right side)
Come back to a neutral spine, moving into thread the needle pose. Bring your right hand to the center of the mat. Inhale your left arm up overhead, reaching out to the left. As you exhale, thread your left arm underneath your right arm, bring your left shoulder and left cheek down to the ground. Extend your right arm straight towards the front of the mat. Breathe into the left shoulder, hips lifted high. Take two more deep, full breaths here.
Thread the Needle (Left side)
To come out of the pose, place your right palm down beside you, inhale, reach your left arm up high. Exhale, place your left hand down to the center of the mat. Inhale your right arm out to the right and up and then exhale, thread it underneath the left arm, coming down onto your right shoulder, right cheek. Reach your left arm forward and breathe into the stretch.
Downward Facing Dog
Place your left hand down beside you, inhale the right arm high and exhale as you release your right hand down to the mat. Take a moment here to breathe. Now let’s move into downward facing dog. Plant your hands, spread your fingers out wide. Lift your knees off the mat and with bent legs, send your hips up and back. Relax your neck and gaze at the floor or in the distance behind you.
Begin to pedal out through the feet, bend one knee at a time. Feel your entire spine elongating. Feel the stretch in the hamstrings, the calves. Press both heels down towards the ground. Take one breath here in your downward dog.
Rag Doll
Step to the top of the mat, come into rag doll pose, bend your knees, bring hands to opposite elbows, and let your upper body completely relax. Let your head sway from side to side. Take two more breaths.
Forward Fold to Halfway Lift
Place your hands to your shins, inhale to halfway lift, exhale, plant your hands down.
Low Lunge (Right Foot Forward)
Step your left foot back, come into a grounded, low lunge. Keep your hands on the ground, untuck the back toes and press your hips down towards the floor. One more breath here, root down through the right foot.
High Lunge (Right Foot Forward)
Inhale to reach your arms up, shoulders stacked over your hips. Open your heart.
Forward Fold
Exhale, release your hands down, frame your right foot, tuck your back toes under, lift your back knee and step to the top of the mat, forward fold.
Halfway Lift to Low Lunge (Left Foot Forward)
Place your hands to your shins, inhale halfway lift, flat back. Plant your hands, step your right foot back, drop your back knee down, keep your fingertips on the floor. Gaze out ahead of you and take one deep breath here.
From here, you could move into more Sun Salutations to warm up, or if you’re making it an easier, more gentle class, you could go into belly-down backbends or some hip openers like Lizard pose and Squat.
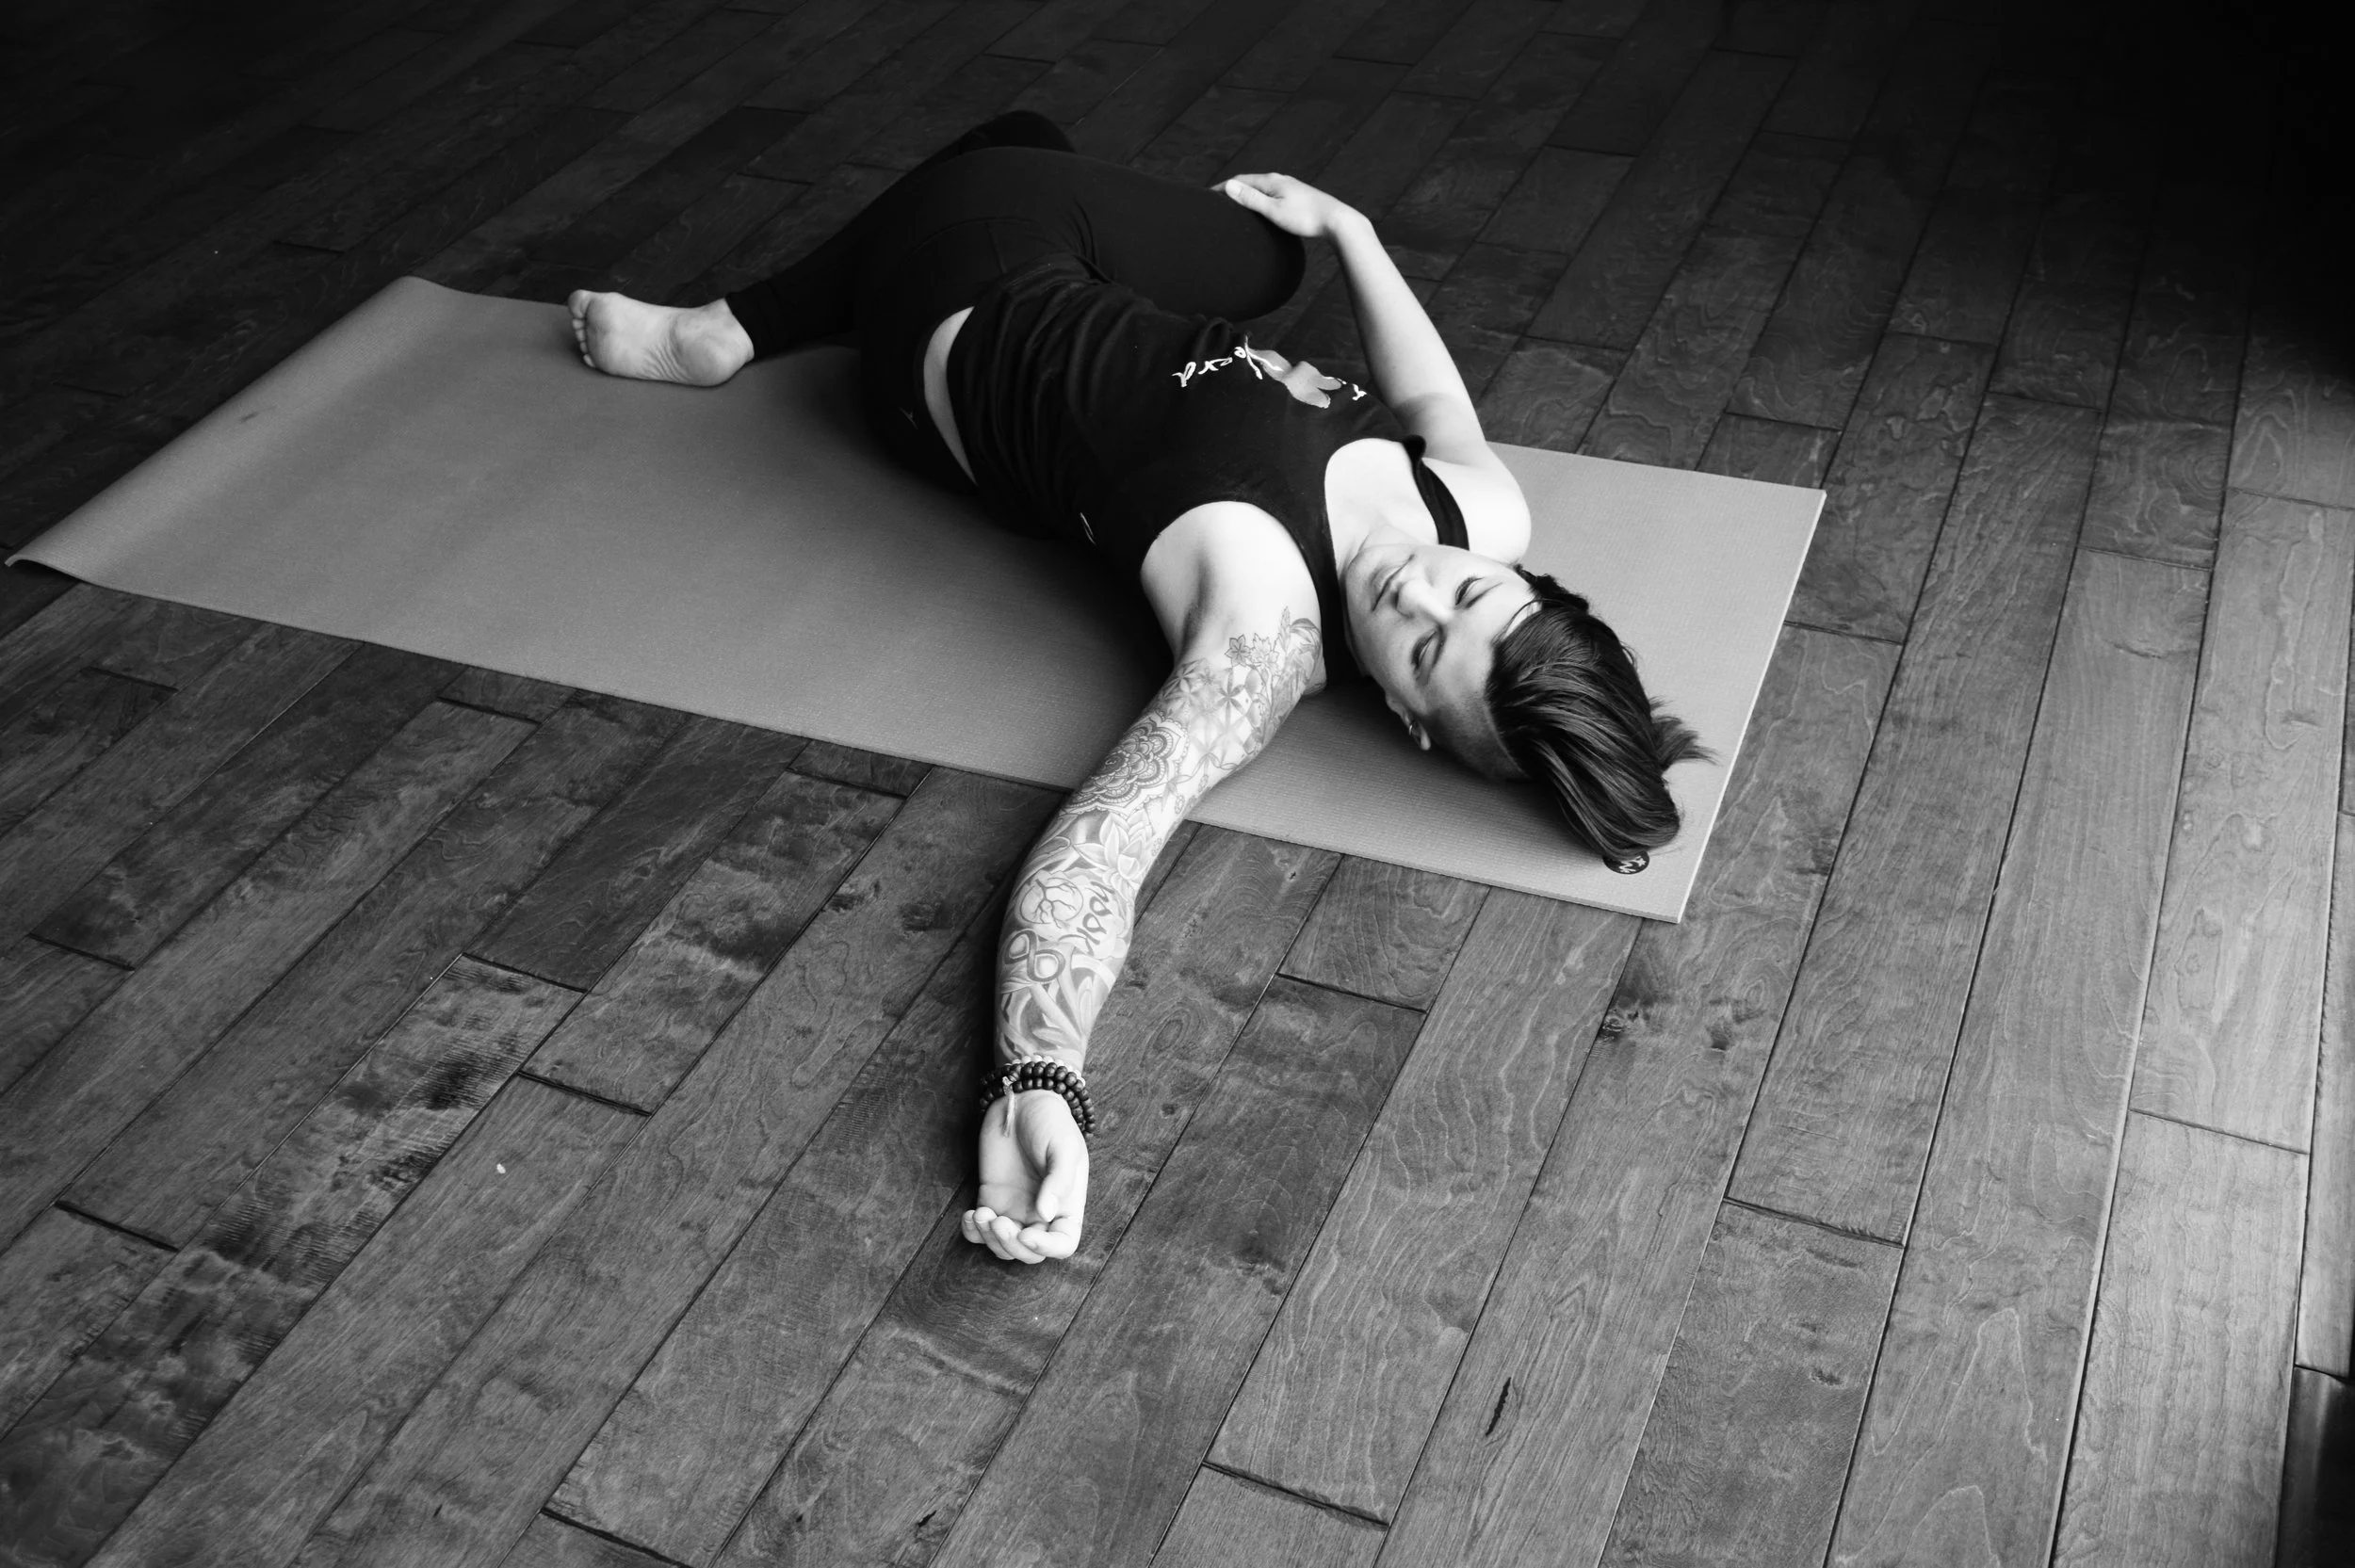
Start from Supine (Reclined, Lying Down on the Floor— For a Restorative Class)
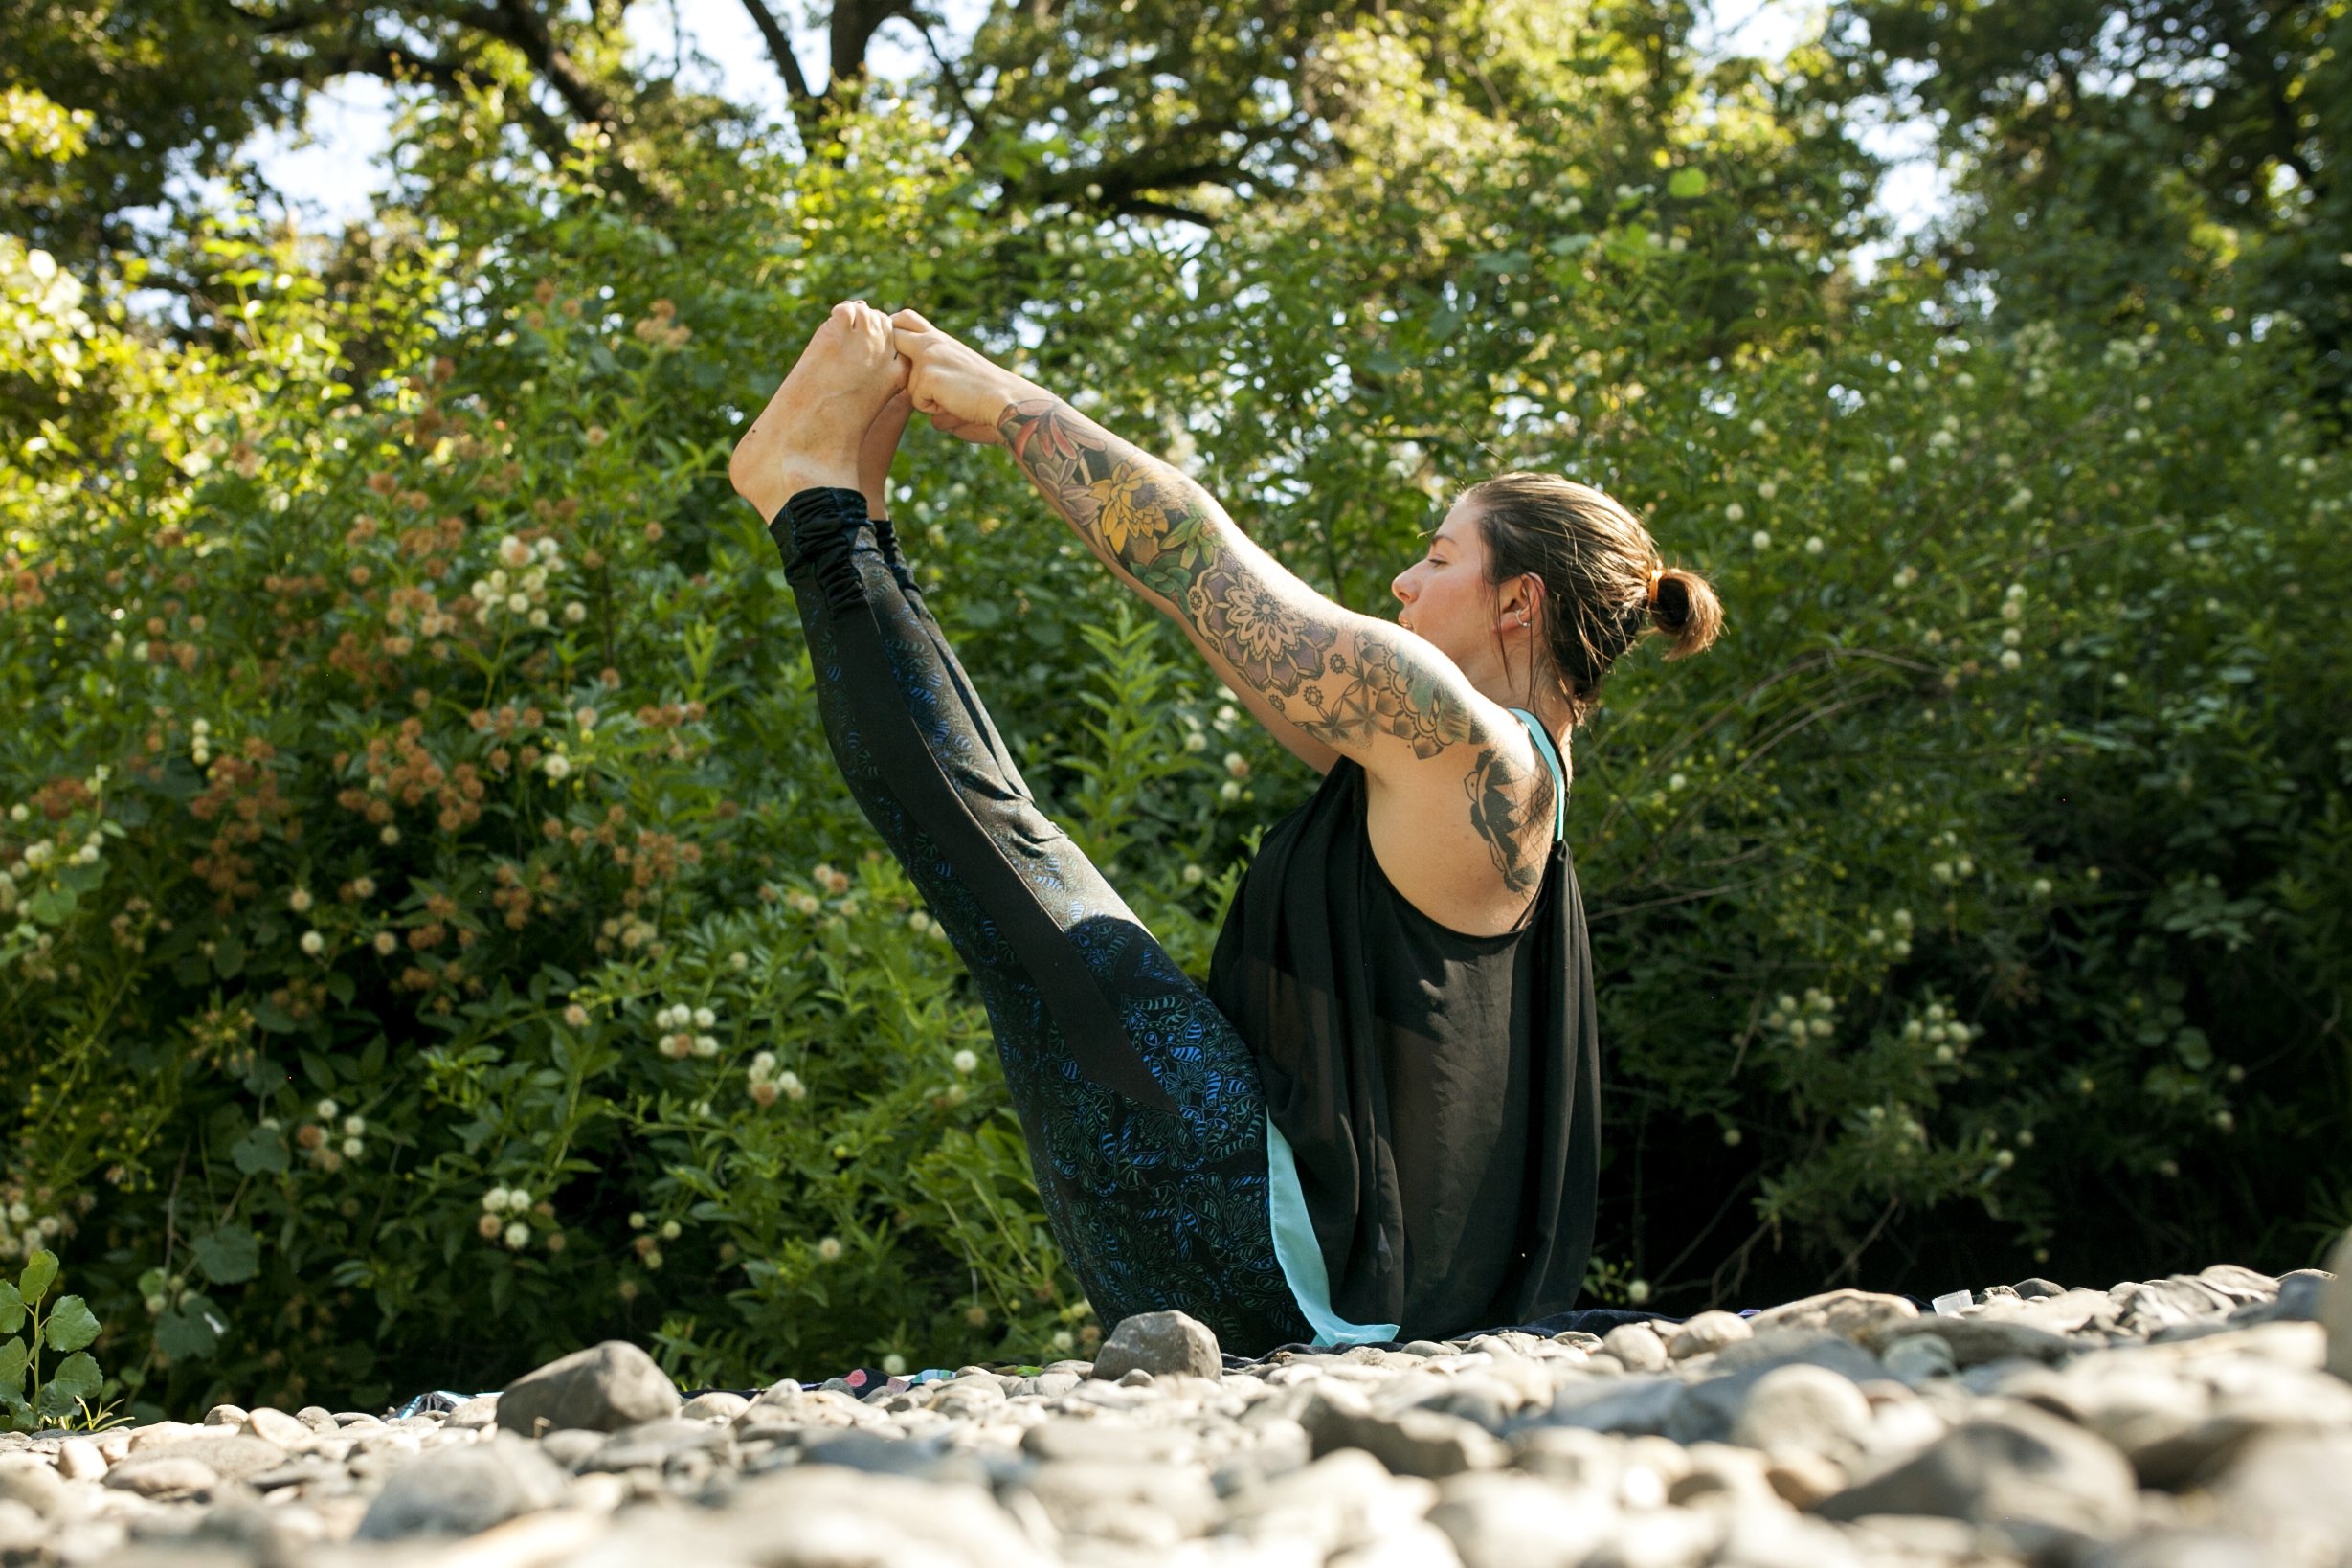
Starting from a reclined position on the floor is my favorite way to begin a restorative class. It signals to students, “Hey, we’re slowing down now,” and it’s a great way to keep the focus on the breath before you get into any movements.
You can do deep belly breathing with one or both hands over the low belly.
Maybe a supported bridge pose or supta baddha konasana (reclined butterfly) with two blocks, one under each thigh. Or you could have students plant their feet and just let the knees rest in toward each other, or do a gentle supine twist.
I also love transitioning into figure four for some hip opening if the class is going to be focused on lower body.
Yoga teachers, I’d love to hear which of these openers for class resonates with you! What other ways do you start your yoga classes? Leave a comment below and share your ideas.
P.S. If you loved this post, you will also love: