
Yoga in Aruba: A Mission Trip with Yoga Girl (Rachel Brathen) and Sgt. Pepper's Friends
/
Today I'm honored to share a Q and A post featuring my friend and fellow yogini, Cassandra.
Read MoreToday I'm honored to share a Q and A post featuring my friend and fellow yogini, Cassandra.
Read More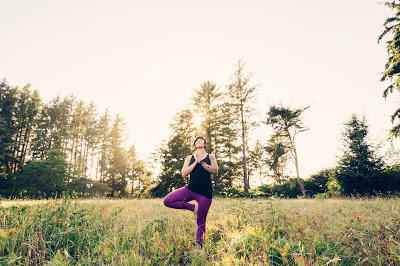
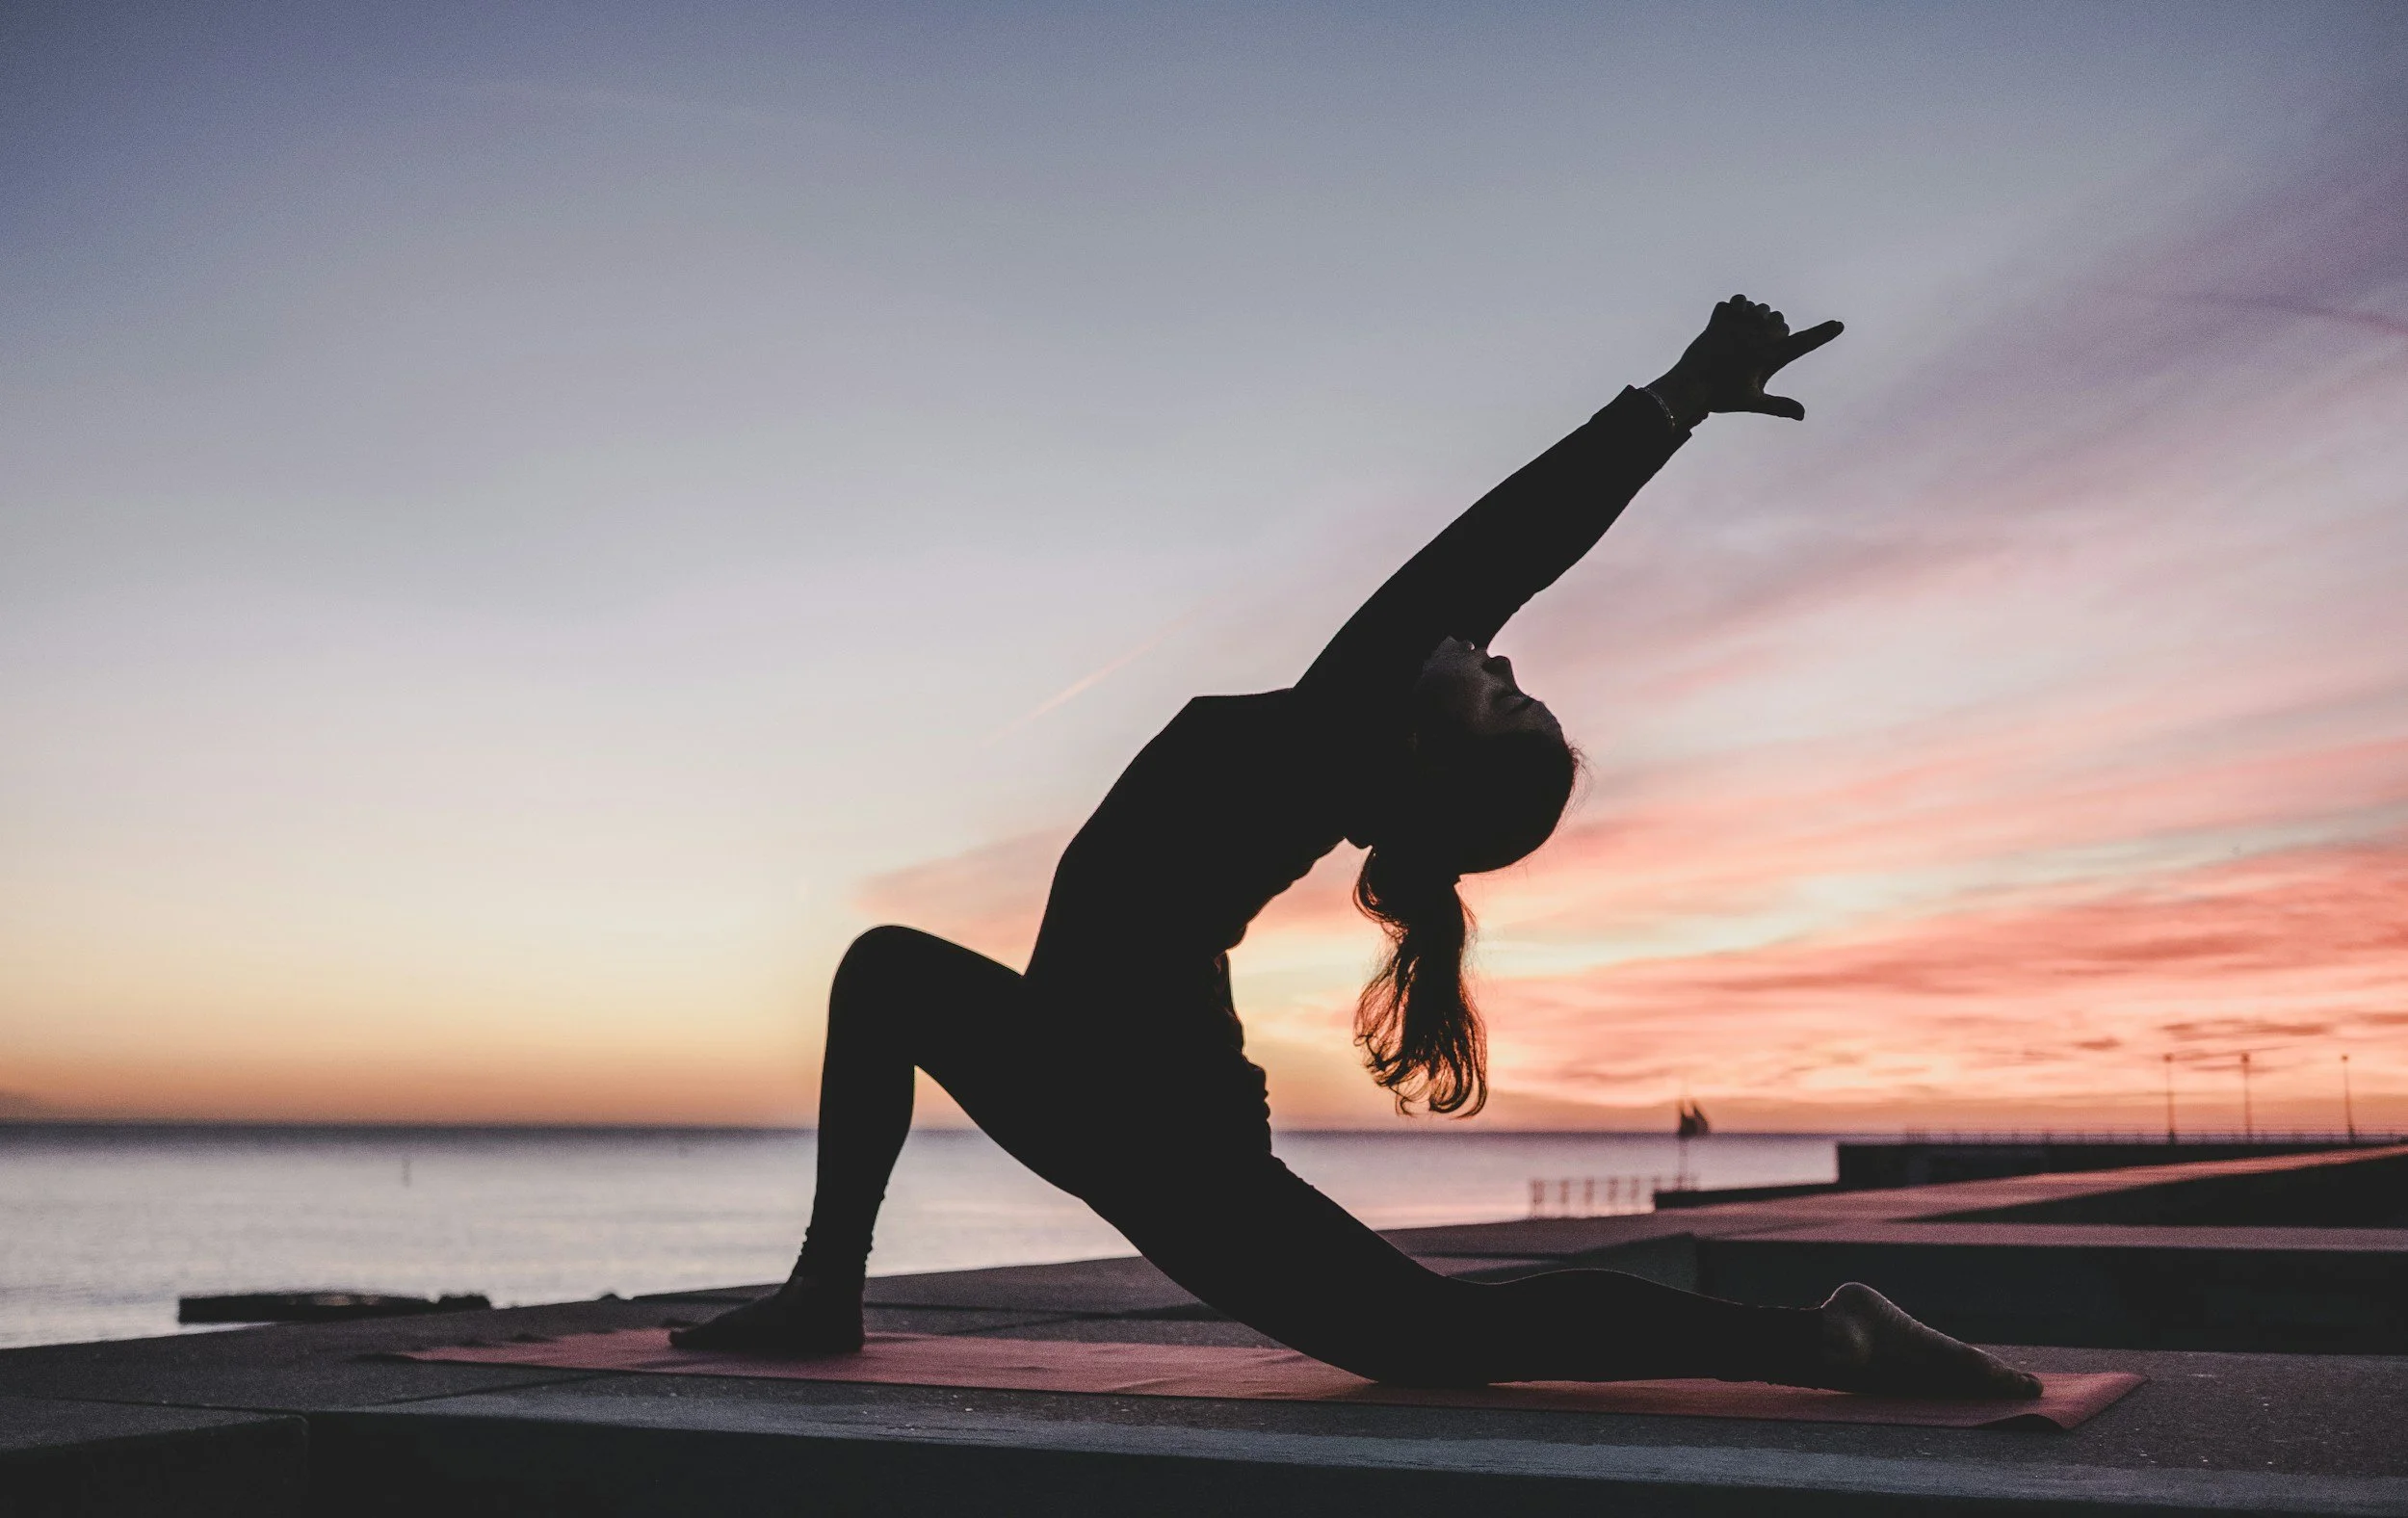
What helps you stay mindful throughout your day?
I was recently asked to answer this question. What practices do I use to fight stress and boost productivity? My favorites are
yoga, breathwork and writing.

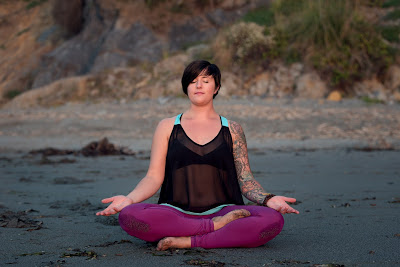
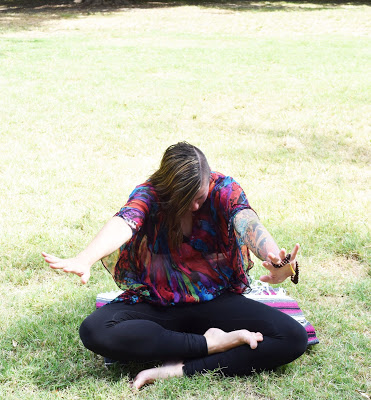
Meditation, yoga, writing and breathing practices help me stay mindful.
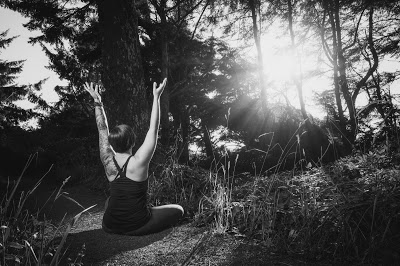
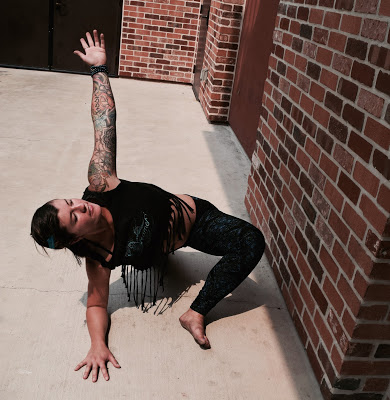
On stressful days, I try to give myself permission to
sit with what is
, whether I'm tired or emotional or overwhelmed. I like to sit down or sometimes take 'legs up the wall' pose and just spend a few minutes noticing my body.
Where do I feel tense? How am I breathing? What is the energy in my body like in this moment?
Rolling out my yoga mat and moving for 15-20 minutes allows me to release stagnant energy. Some days, I'll stay with one pose for an extended period of time. One minute in headstand, or two minutes in Pigeon on each side -- that can make a huge difference in how my day is going!
I also love to write in my journal. I think it's important to write from a place of authenticity. If I'm having a rough day, I might not write a gratitude list. I might write about why I'm upset, why I feel stuck, or what I'm fearful of. On happy days, a gratitude list or a blog post or a long post on Instagram might be more fitting. The important thing is to start with how I'm truly doing, instead of trying to pretend I'm in a different space.
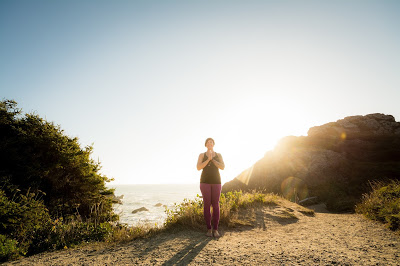
Breathing is so important too. Lately I've been all about
Nadi Shodhana
, alternate nostril breathing. I feel so relaxed after just a few minutes of this Pranayama technique. I'm grateful that there are so many methods for staying mindful and for releasing stress, since different days I need different tools.
This post was inspired by a Q&A article I participated in. You can read the full article featuring other amazing yoga teachers and their ideas
.
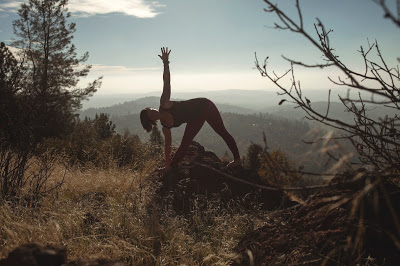
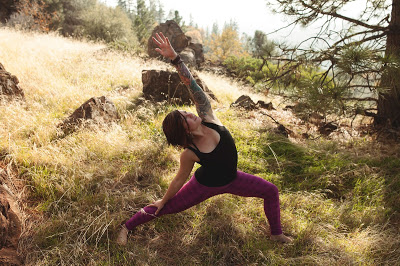
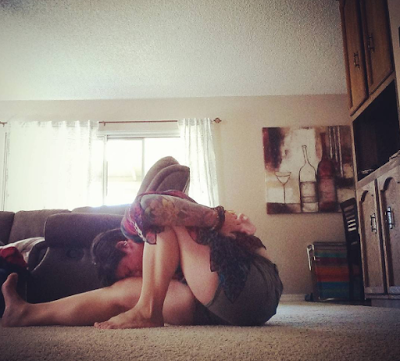
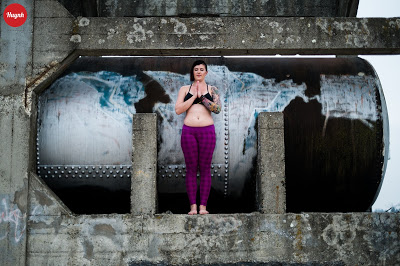
Photos in this post by Ken Johnson of
.
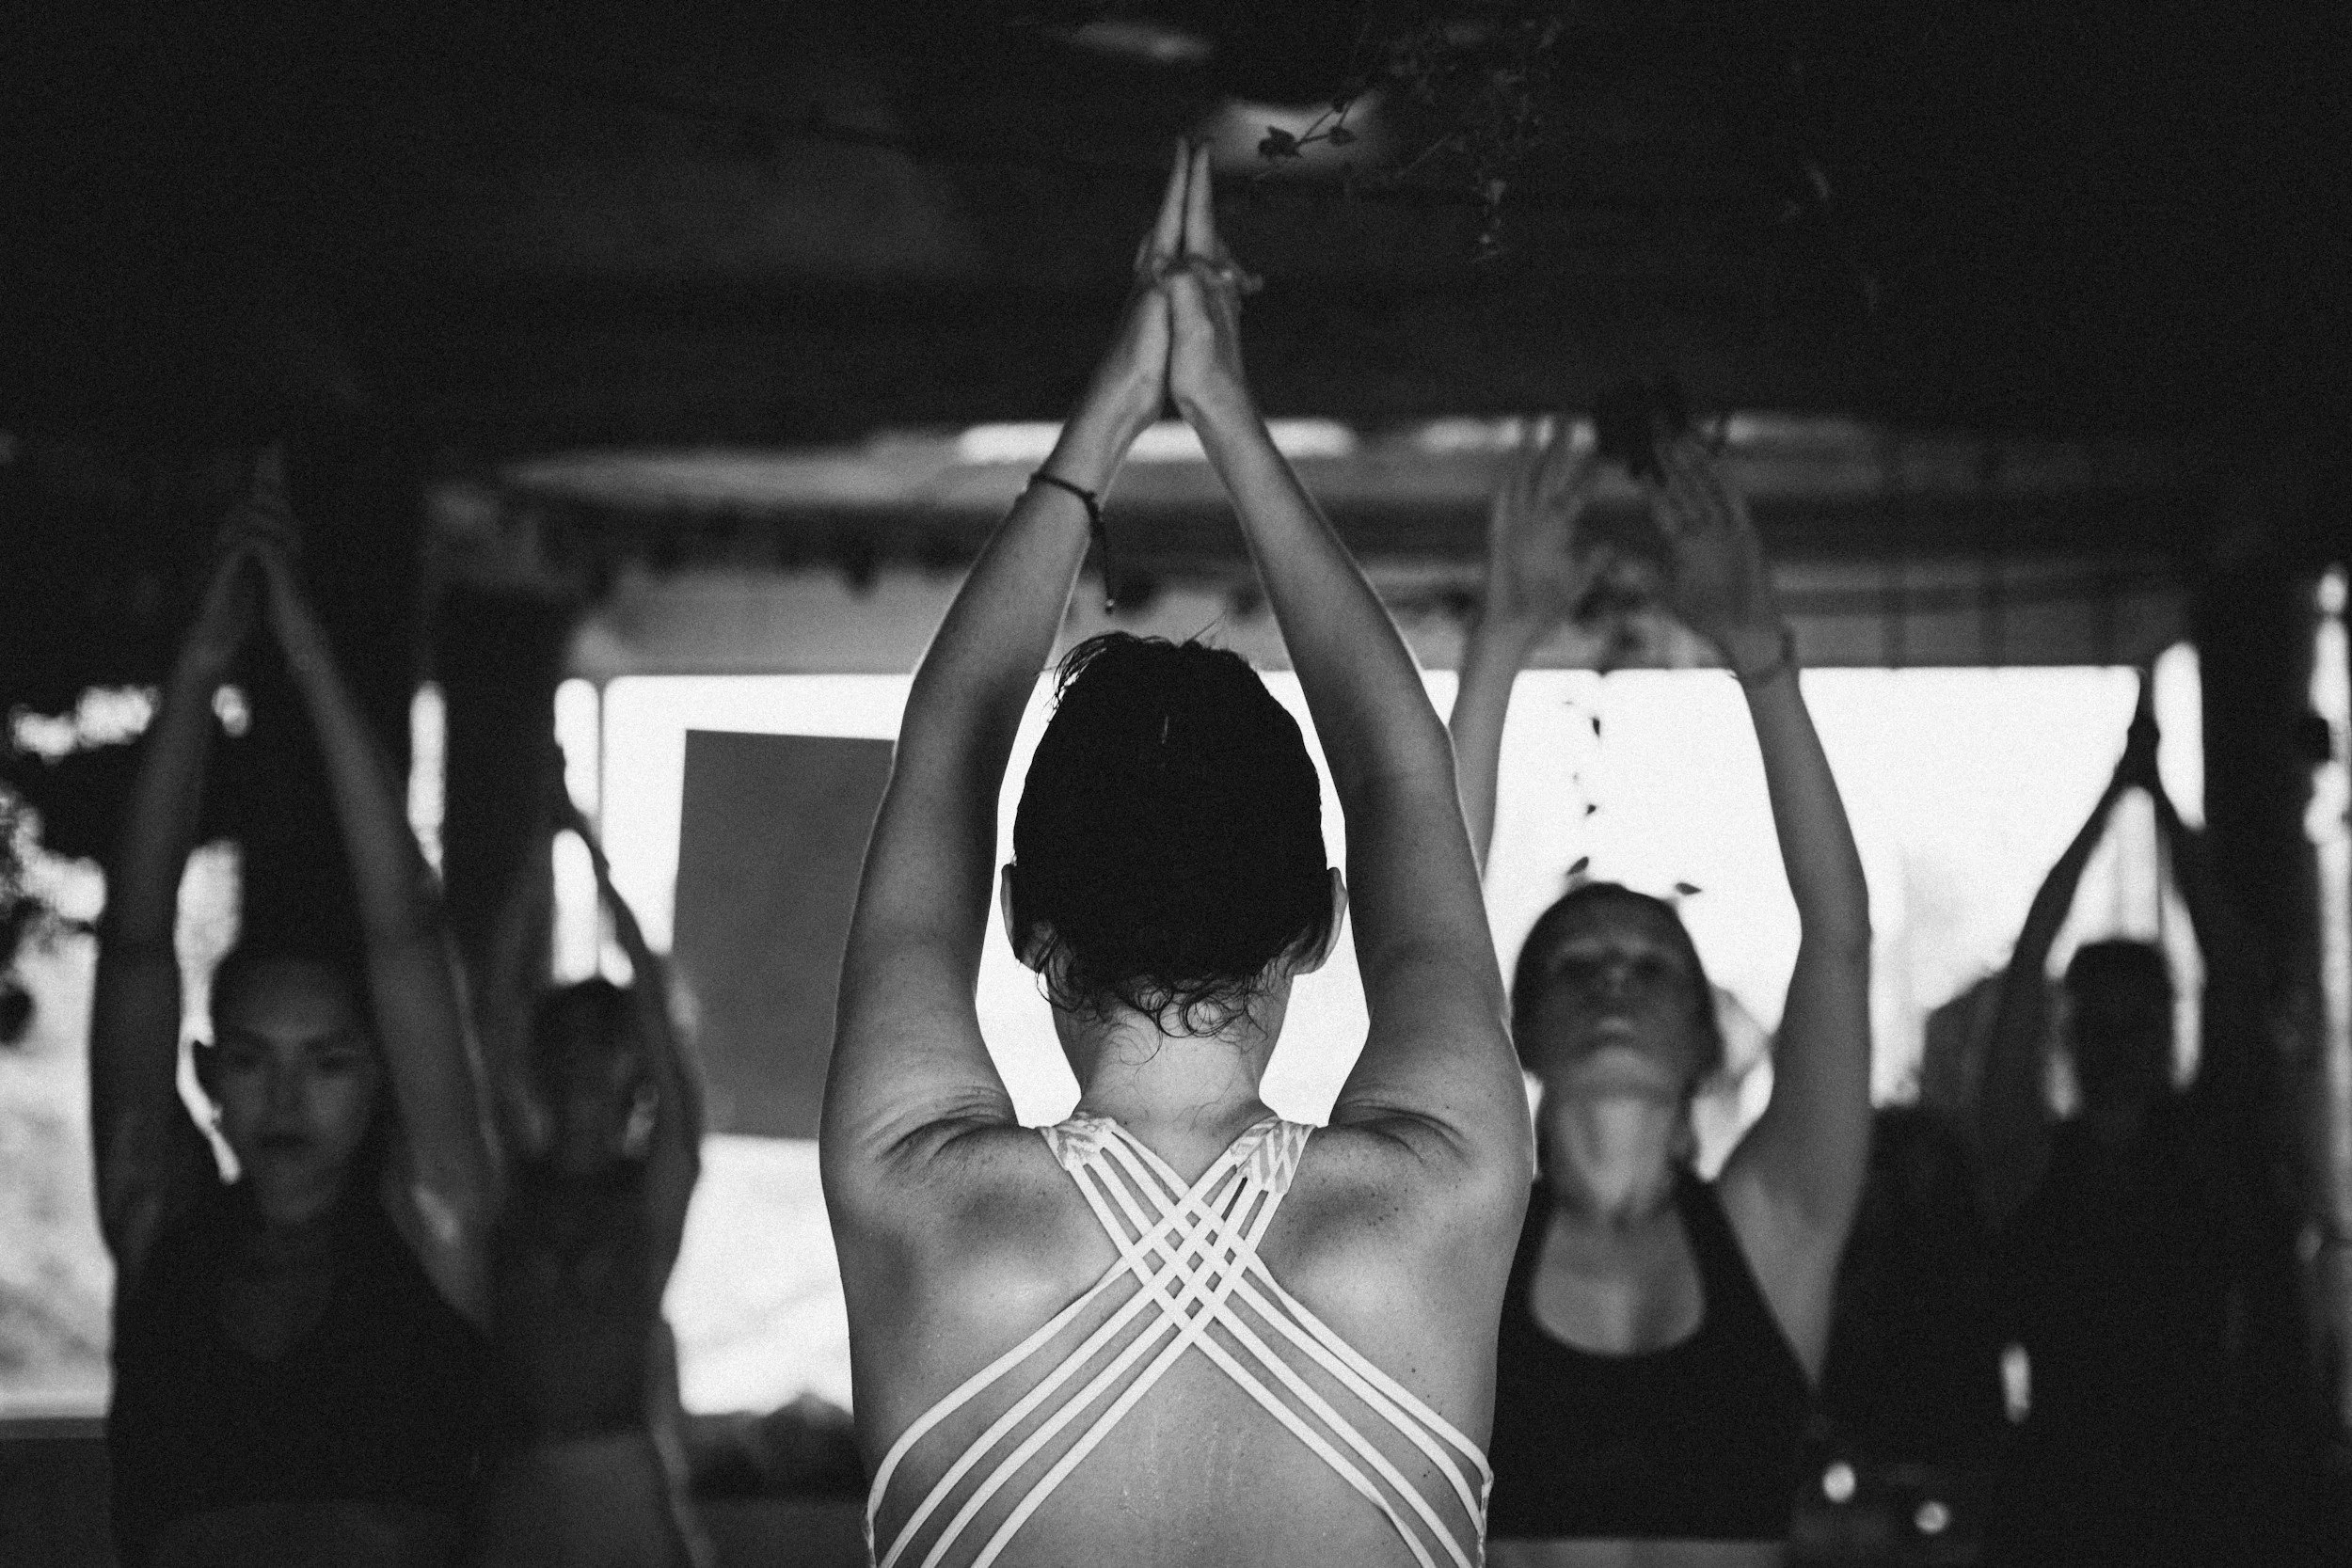
Happy Monday, yogis! I hope you had a restful and fun weekend.
I'm curious: do you practice pranayama (breathing techniques) at your yoga studio, or at home?
It's interesting to me how the culture of every yoga studio varies, and it seems like these days you can find both traditional classes which feature ancient, yogic breathing practices, and you can also find studios where you'll only hear about Ujjayi breath while in class.
Recently I've been incorporating
nadi shodhana, or alternate nostril breathing,
into my daily routine. I find that it relaxes my entire body, calms my mind, and helps me feel balanced.
Would you like to try it?
Find a comfortable seated position, and close your eyes. (Note, if this is your first time trying a pranayama technique, please see my note below.*)
Take a few moments to ground yourself. Allow your thoughts to settle.
Notice your body, any sensation, any area that draws your attention.
Then, notice your breath.
Where in your body do you feel your breath?
Let your awareness settle on the breath alone. You can begin counting your inhales and exhales. Inhale to a count of four; exhale to a count of four.
After a few rounds like this, we'll begin nadi shodhana, alternate nostril breathing.
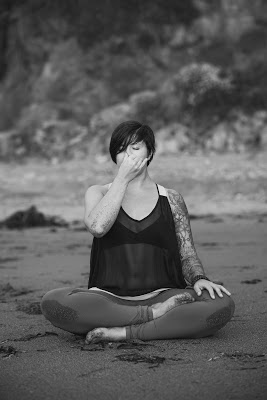
Bring your right hand just in front of your face.
Bend your index and middle fingers, creating a sort of "y" shape with your hand. During this breath technique, you'll use your thumb to cover your right nostril, and your ring finger to cover your left nostril.
Close your right nostril with your right thumb. Inhale through the left nostril slowly and steadily, filling up your lungs.
Close your left nostril with your ring finger so both nostrils are closed; retain your breath at the top for a brief moment. Then, open your right nostril and release the breath through the right side, exhaling fully.
Inhale slowly through the right side, filling up again. At the top of the breath, hold both nostrils closed and pause for a moment.
Then open your left nostril and breathe slowly out through the left side. Pause briefly at the bottom.
Repeat for two to five minutes (or longer). Work up to longer periods of practicing this breath.

Here's a simplified explanation, in case that above description got a little confusing or wordy for you ;)
Exhale fully.
Cover your right nostril as you inhale on the left.
Pause at the top of the breath and close both nostrils.
Cover your left nostril as you exhale on the right.
(Keep your fingers as is as you) inhale on the right.
Pause at the top of the breath and close both nostrils.
Open your left nostril and exhale on the left.

Or, even more simply:
Inhale left, exhale right.
Inhale right, exhale left.
Once you get the hang of this breath technique, it's very relaxing.
Nadi Shodhana is a powerful yogic practice. This breath will allow you to:
support your lung and respiratory system, balance the left and right hemispheres of your brain, clear your body's energetic channels, rejuvenate your nervous system and release stress.
*An important note
: one of my favorite yoga teachers once explained to me that pranayama is a serious part of the yoga practice. It's important to establish a foundational yoga practice before you begin working on pranayama. Please practice with a teacher who is knowledgeable and can show you exactly how the breath technique works and who you can ask questions.
Nadi Shodhana is a basic pranayama practice, so it would probably be OK for you to try it simply based on reading this post, but if you're getting into any other more complex breath practices, or any pranayama that involves holding (retaining) the breath, please do so with an experienced teacher in the room with you. As with anything in yoga, if any of these breath practices cause you any sort of anxiety, please skip them and go back to your normal breath in and out through the nose.
Namaste.
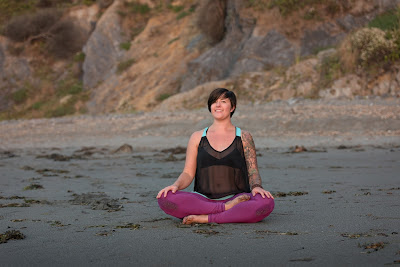
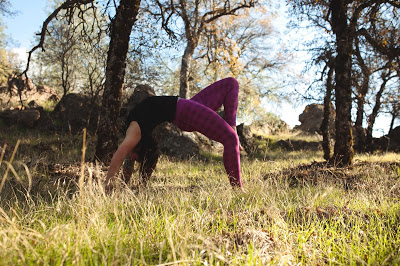
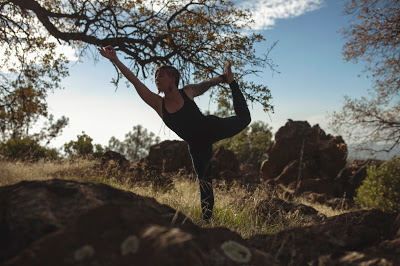
All images in this post by Ken Johnson of
. Leggings by
.
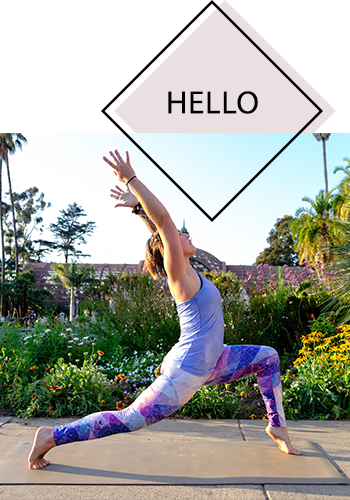
Yoga poses to express elation, joy, happiness, and hopefulness.
Read More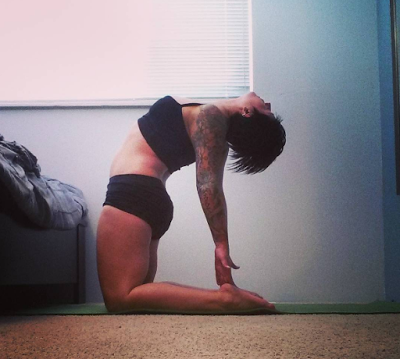
Here are a few things that I know, in this moment.
Yoga is a practice.
And my practice is in a constant state of flux, just like me.
Postures will come and go.
Inversions? Fancy transitions? They do not define me.
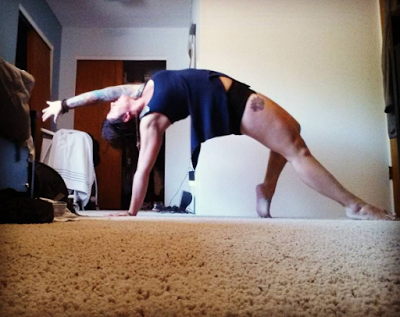
Today I practiced yoga for the first time in a week, and my body felt stiff and tight. My joints ached. I tried for binds in Goddess pose and Extended Side Angle, and felt as though I was in a different body than my own.
I felt uncomfortable. I kept going. And in savasana, I felt relieved and a little proud of myself for sticking through the discomfort.
I've heard other teachers and students talk about 'taking a break' from their practice. It has been years since I've done that with mine, but in the last few months there have been moments when I'd rather do anything than yoga.
I know I've spent a lot of time comparing myself to other yogis, teachers and students, deciding who has a 'stronger' practice, who knows more, who is capable, who is worthy.
I'd love to let all of that go.
I journaled about it today, actually. How I'm tired of letting my practice define me, rather than support me.
I don't live to do yoga; I do yoga in order to live a more balanced, happy, peaceful life.
Let that be my mantra. Let the comparisons and judgments fall away.
I want to be remembered as a yogi who loved wholeheartedly.
I want to be remembered as someone who cared, who took care of herself with grace and kindness, and who refused to let fear get the best of her. If handstand is in that picture, OK. If not, OK.
How do you practice ahimsa in your yoga routine? How do you let go of a fear of failure, of not being good enough?
10 tips for building your confidence as a new yoga teacher, plus an inside look at how yoga scripts help new yoga teachers improve their cueing.
Yoga Poses for when your heart is full!
Read MoreYoga poses for processing stress and anger out of your body.
Read More
First up in the yoga for healing series:
yoga for anxiety!
This little series of poses is near and dear to my heart. I found yoga because of anxiety, and found that the practice was incredible for calming my nerves and letting go of stress.
On days when you are feeling anxious, nervous or worried, try these yoga postures to help you ground your energy and release fear.
If possible, do 3 rounds of sun salutations to warm up the body and link movement with breath.
Otherwise, simply begin in
Tadasana, mountain pose.
Stand with your feet firmly planted on the ground, soften your knees a little bit, and reach up through the crown of your head. You can even tuck your chin just slightly to feel your spine get even taller.
Notice what it feels like when you are in this tall, confident standing posture.
Feel free to bring your hands together in front of your heart and close your eyes. Take five deep breaths, picturing the breath lighting up your entire body with vibrant energy and a sense of peace.
Each time you exhale, picture sending your worries or frustrations down through the soles of your feet, letting them go, right here and now.
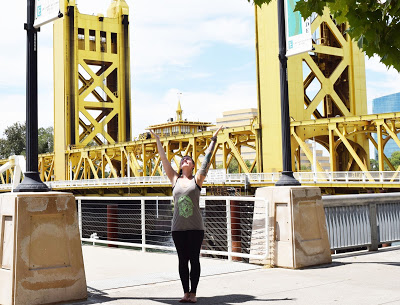
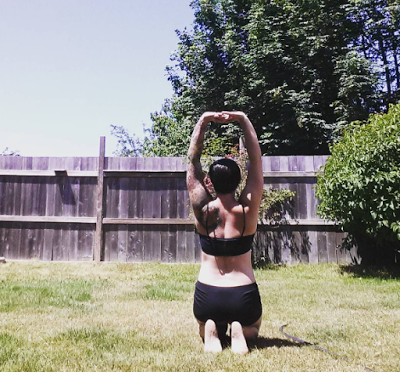
Next, take a
mini backbend.
Reach your arms over head and look up. As you reach through your fingertips, picture inviting peaceful energy into your body.
Fill up. Maybe even smile for a moment :)
Take five breaths here in this standing pose, lifting through the heart center and the crown of your head.
Next is
seated cat/cow
. Sit comfortably on your mat or on a blanket.
As you inhale, pull your heart forward and arch your spine.
As you exhale, round your spine, curling in, chin to chest.
You can have your hands up or your palms resting on your knees as you do this motion.
Keep the movement linked to the breath -- inhaling forward, exhaling back.
Do five to ten rounds.
As you inhale, invite peace. As you exhale, release fear and tension. You can even vibrate the mantra,
I am at peace
.
Come back to center. Sit up tall. Take a clearing breath, inhaling through your nose and then exhaling audibly through your mouth:
ahhhhhh
.
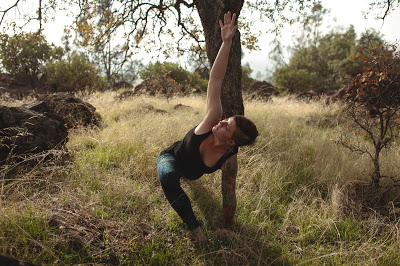
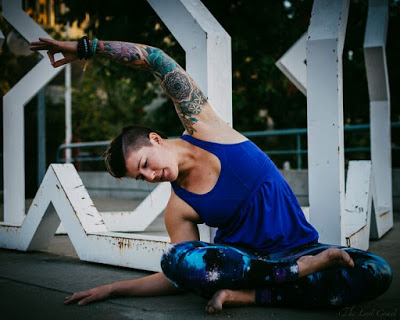
Next, do a few
side bends.
Let one arm slide down, elbow to the ground. Reach up and across with your other arm. Let your neck relax as you breathe into your side body.
Stretch each side, pausing for five to seven breaths on the right and the left.
As you return to center, notice new space you've created in the mid-body, the area around the heart and in the middle of the upper back, where the shoulder blades are.
Picture the energy there feeling calm and centered.
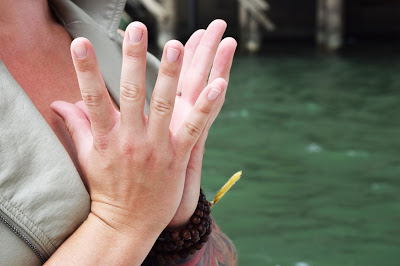
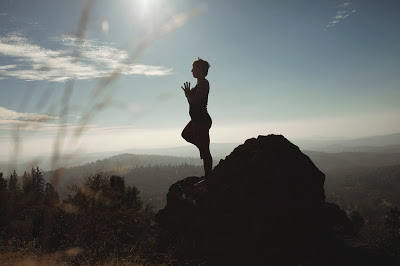
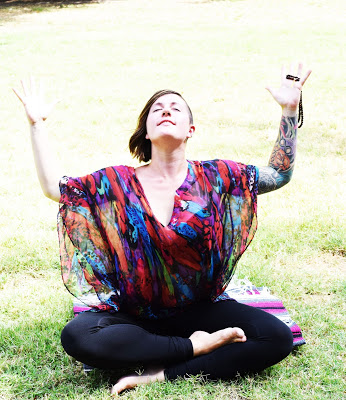
End your practice with a few moments in
lotus mudra
. Draw your thumbs and pinky fingers together to touch, and fan your other fingers out wide. Place your thumbs near your sternum.
Close your eyes and breathe.
Notice the sense of calm in your body.
You are this sense of calm. Your very nature is here, in a loving, nurturing, relaxed place. If at any time you need to remember this feeling in your body, you can bring your hands back into lotus mudra and take a few deep breaths.
Here's a summary of the
YOGA FOR ANXIETY
practice:
3 sun salutations to warm up
Mountain pose, tadasana
Mountain pose with a baby backbend, arms overhead
Seated cat/cow pose
Clearing breath (audible exhale!)
Seated side bends
Lotus mudra at the heart
May your yoga practice be an act of kindness toward your body, and a key to finding healing and peace.
Are you a yoga teacher who’s returning to teaching yoga after a break? Whether you're on the fence about taking on a new class or have already started teaching again, here are tips for navigating the transition.
10 tips for building your confidence as a new yoga teacher, plus an inside look at how yoga scripts help new yoga teachers improve their cueing.
Calling all yoga teachers, and teachers in training!
How do you sequence your yoga classes? What tips, tricks and tools have helped you learn to put together a class that 'flows' beautifully?
Sequencing can be a challenge for yoga teachers, especially in the beginning...I know for me it took a few years to feel totally comfortable creating new yoga sequences. When you're fresh out of teacher training, you may have one memorized sequence you're ready to use, but how do you branch out from there? What helps keep you creative and coming up with new ideas?


Putting together a cohesive, intelligent, engaging yoga class is not easy. In an effort to encourage and inspire all of my fellow yoga teachers out there, I'd love to share some awesome advice from three of my favorite teachers on how they sequence a class, memorize a flow, and create an environment for students that is supportive and fun. Enjoy!

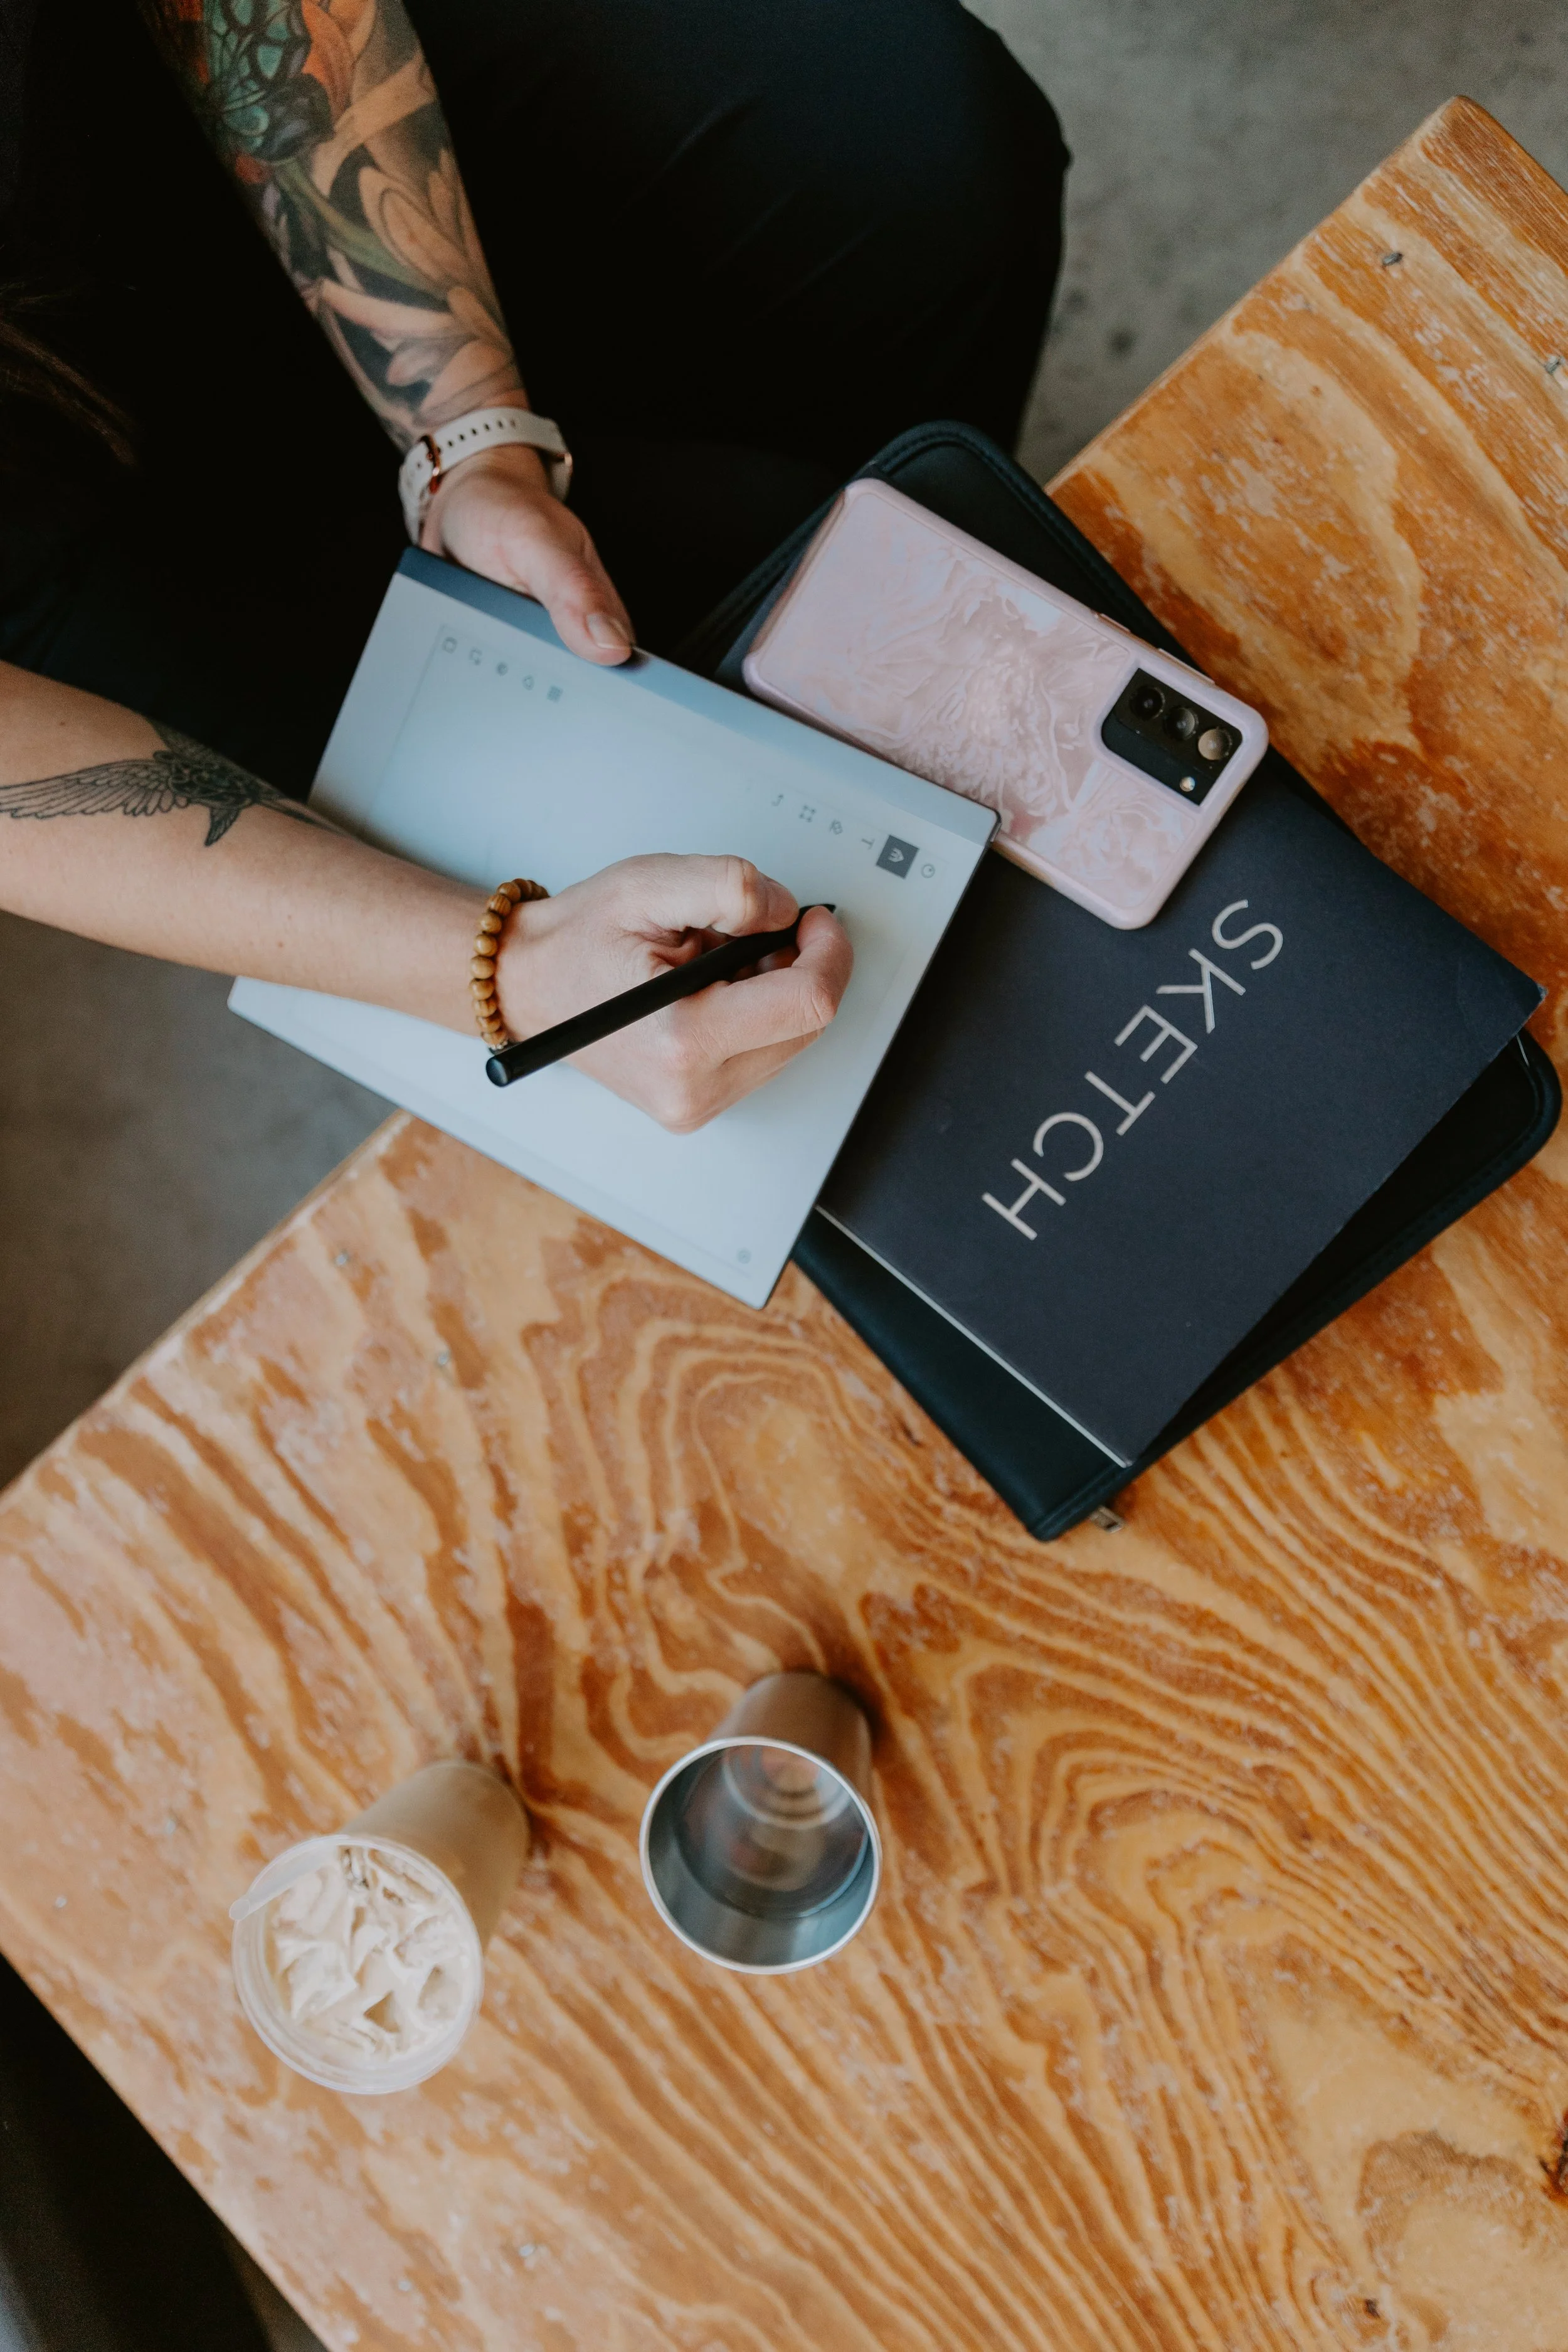
The most authentic inspiration that I find for classes is to get on my mat and move. Some days I just allow myself to be led by my breath and intuition. Other days, I may have a specific intention/focus that I want to bring to class, so my movement is informed by this.
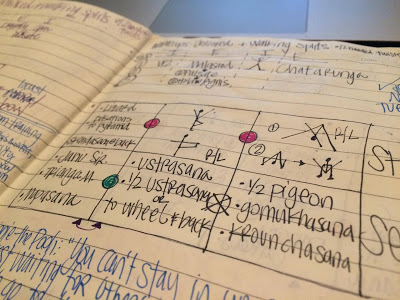
I’m visually minded, so once I have my game plan, I write/draw out the sequence for class. I like to use symbols, abbreviations, and little stick figure yogis. :) I keep a format that divides the various sections of class, so that it's easy to reference when teaching, if needed.
I love the way that this starts to build a catalog of classes. It is fun to look back at past classes; I will often revive, and sometimes refine, things that I've taught in the past.


In the beginning I would write almost every single transition or pose down in a linear list (took up half a page!) but now I focus on just one or two key poses or transitions that I really like and put in my basic flows around those pieces. I stop writing as much down too and just practice on my mat more WITH music. For me, music inspires my movements so getting on my mat with a great playlist is where I get inspired. From there, it's a random note-fest of transitions or poses that I must have in my class.
The biggest tip my teacher had for me in my classes she would take was "BREATHE
!" I try to never skip a breathe cue. I try to emphasize fuller breaths in the middle and end of class when that can sometimes be forgotten. When I feel lost or nervous, I breathe. I also remember that some of my favorite classes was more because of the vibe and energy of the teacher and less to do with the sequences or poses.


Aren't these tips super helpful? I can't wait to try some of them when I'm putting together my next class sequence.
I'm so grateful to each of you-- Tristina, Jany and Elizabeth-- for offering all these awesome ideas on how to sequence a yoga class.
To summarize, here are some ideas for how to create a class that flows effortlessly:
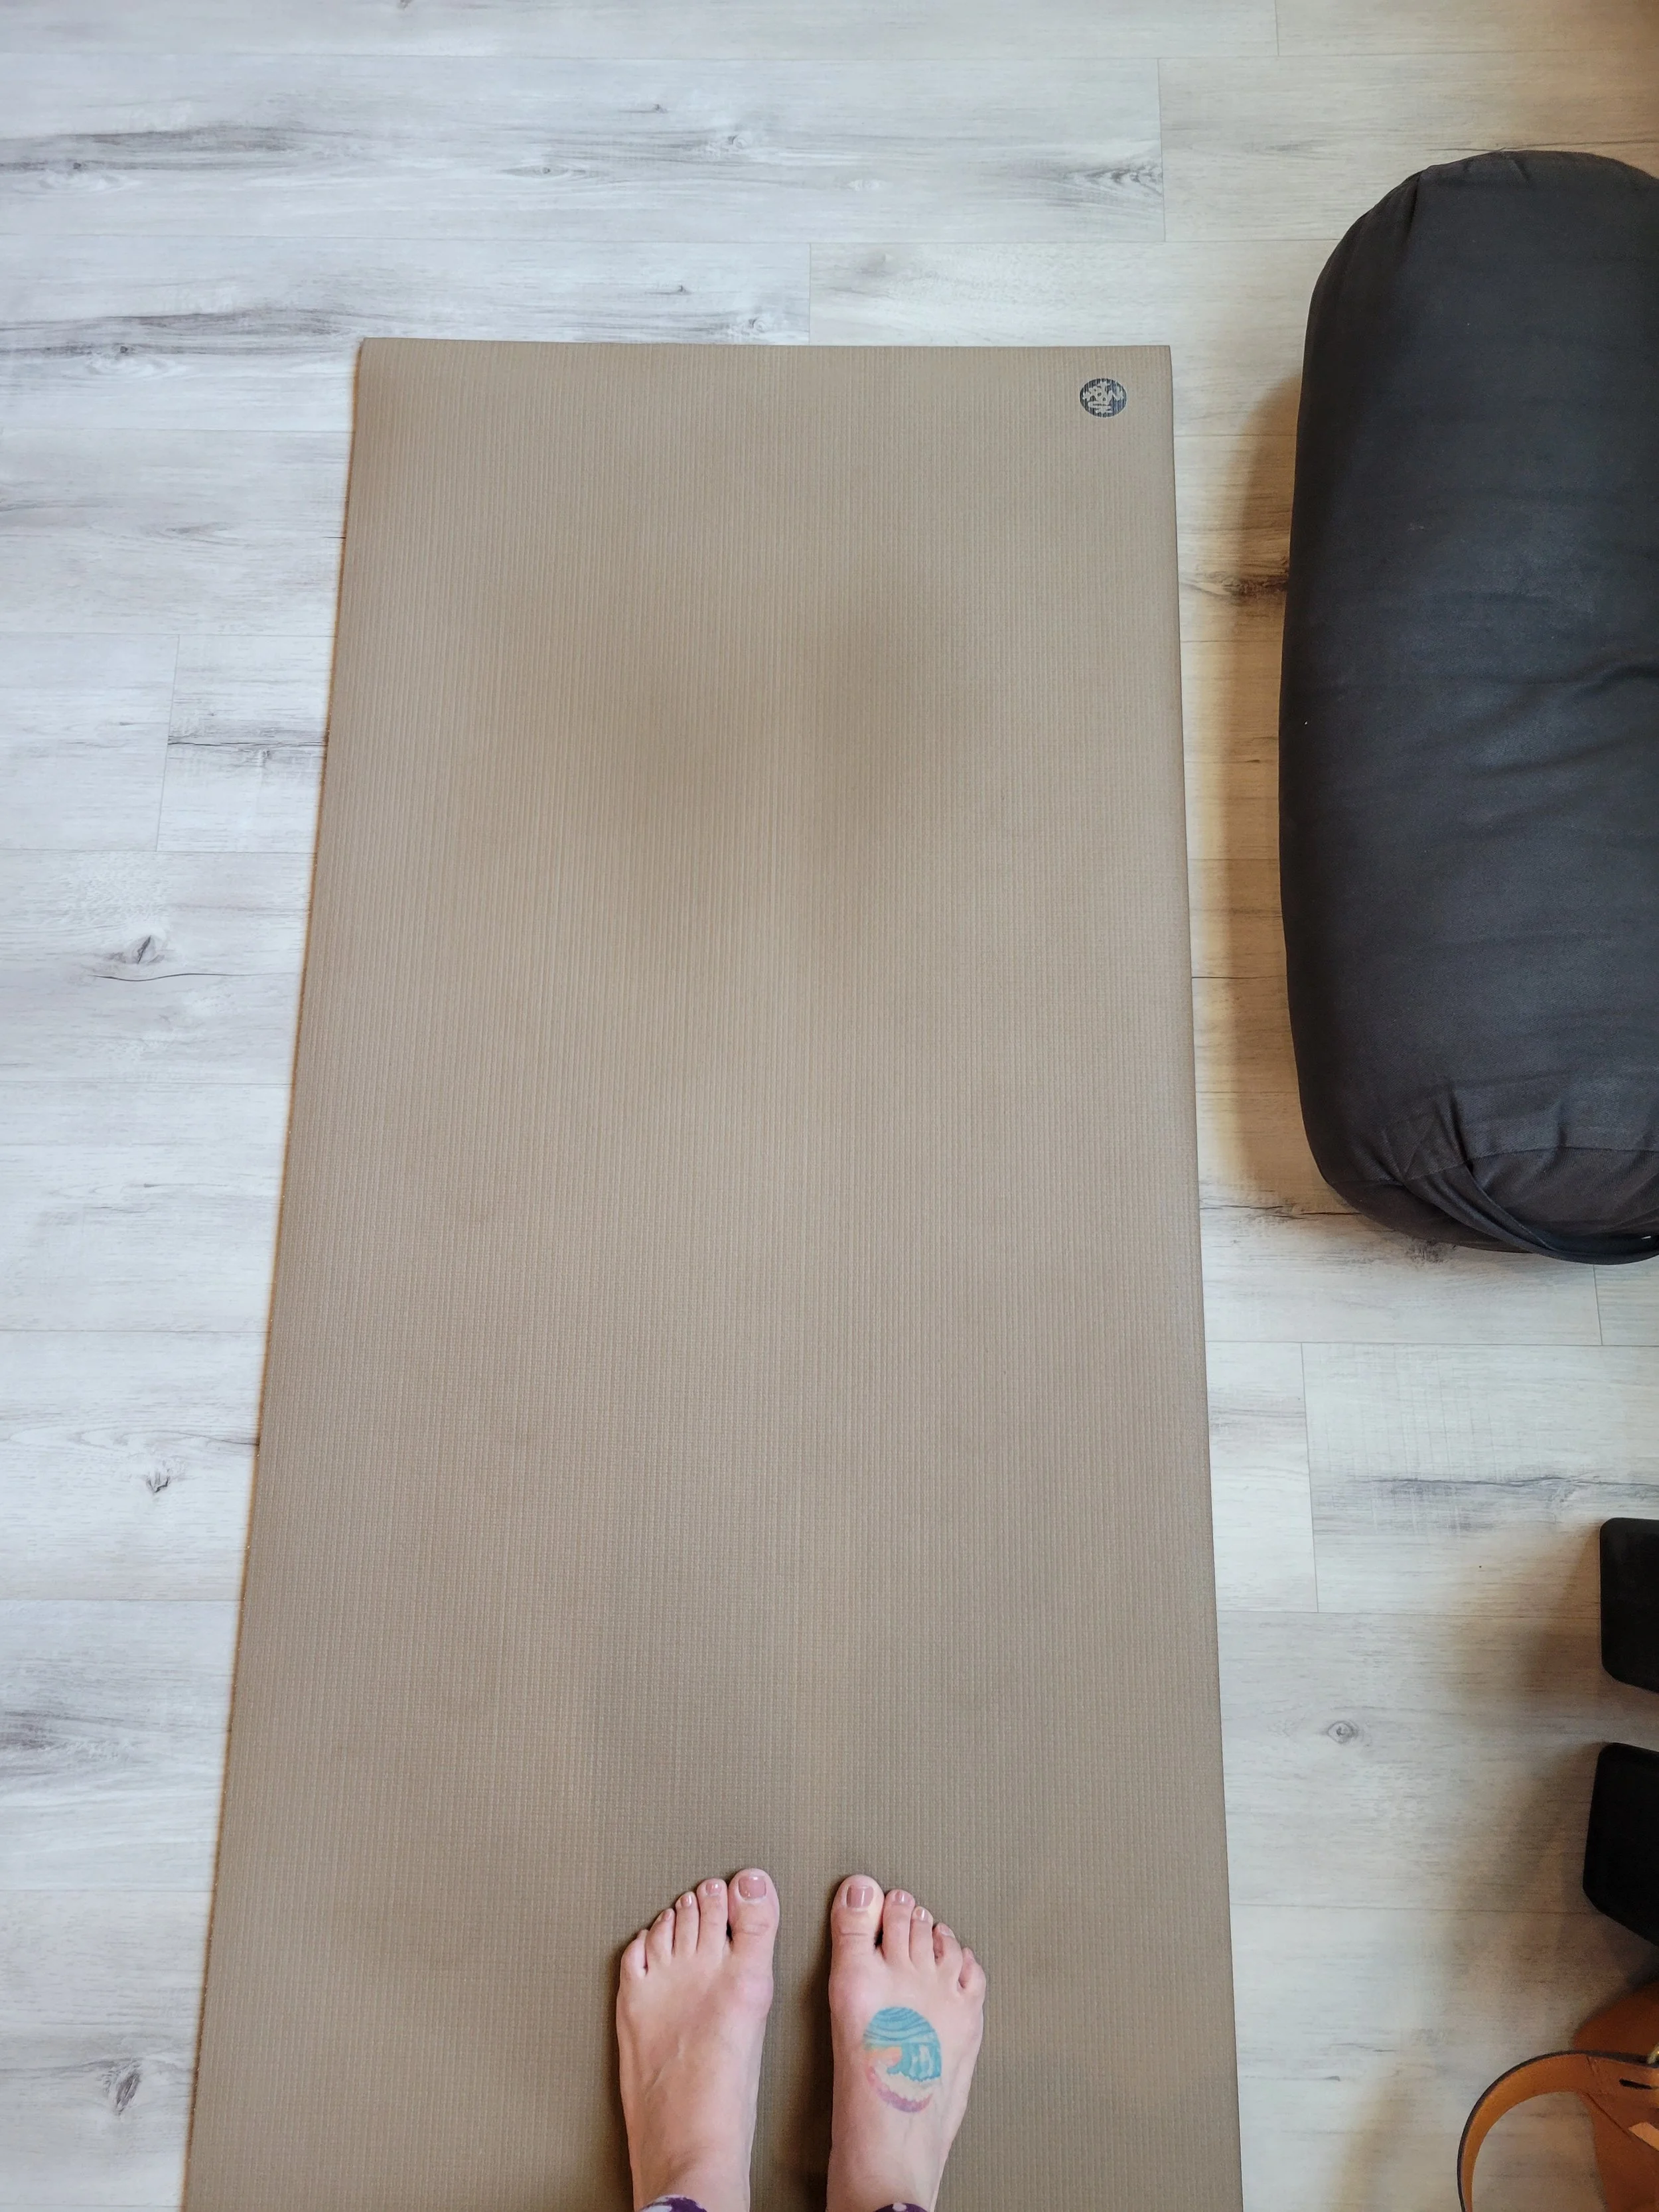
Spend time during your own practice noticing the transitions between poses.
Keep a journal of class sequences you've taught.
Let music inspire you.
Choose a peak pose and work up to it.
When you arrive to teach, remember to breathe and adapt to who's in the room.
For all you Vinyasa yogis, I also recommend checking out my post on how I memorized the
Baron Baptiste sequence
during my 200 hour training.
Do you have tips or tricks for sequencing? I'd love to hear in the comments below!
Teach yoga with confidence using the Power Yoga Script!
This yoga class script PDF is a full guide that details exactly what to say for your next class, start to finish.
Ideas for how to start yoga class as a teacher
What to say during Savasana at the end of yoga class
Precise cues for over 50 poses included in a Power Vinyasa Sequence
Sanskrit posture names including phonetic spelling for how to pronounce them
This 45-page document includes detailed instructions for how to cue yoga poses and can be modified to create a:
60 minute yoga sequence script
75 minute yoga sequence script
or even a 90 minute yoga sequence scripts
If you’re struggling with yoga sequencing or yoga sequencing lesson plans, this script is for you.
This yoga class script can help you improve your cues, build your confidence, and discover the sequencing and pacing that will define your unique style as a teacher. Transition smoothly from yoga teacher training (YTT) into any teaching environment.
The sequencing follows the Baptiste power vinyasa yoga methodology including the following sections:
Integration (Presence)
Awakening (Sun Salutations)
Vitality (Warrior Series)
Equanimity (Balance Series)
Grounding (Triangle Series)
Igniting (Backbending Series)
Stability (Abdominal Series)
Opening (Hip Series)
Release (Forward Bending Series)
Rejuvenation (Inversion Series)
Deep Rest (Surrender to Gravity Series)
The yoga class teaching script includes:
Introductions
Warm ups
Sun salutations
Warrior poses
Balancing poses
Triangle series
Backbending
Abs and core work
Hips
Forward bending
Inversions
Cool down and savasana
Precise cues, smart sequencing, and ideas for how to start and end the class in an engaging and authentic way. Walk into class feeling empowered and prepared to deliver a kick-ass yoga experience to your students.
Here’s what yoga teachers are saying about the POWER YOGA SCRIPT:
“This definitely helped me improve my flow with teaching asana after my teacher training.” -Donita, Vinyasa yoga teacher
”I love how you laid this script out. I felt confused and scattered as I was working on my classes and this helped me save time in the process. Thank you!” -Keyla, yin yoga teacher
“I’ll be honest: when I got done with my 200-hour training, I felt totally lost. I mean, my trainers went over all the poses but as soon as I’d get in front of the room, the words just weren’t there. I felt so stuck. This book helped me build my confidence and doing some memorization so I wasn’t always so terrified to teach.” -Beth, power vinyasa teacher
I made a discovery while teaching yoga today.
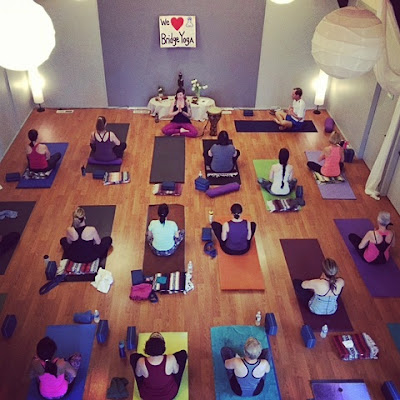
When I am able to be vulnerable, and sit with my students-- when I am willing to get up close, to be seen, and to share space with them -- I receive so much wisdom and healing.
During last few moments before Savasana, I knelt down on the floor, right in the middle of the room, and suddenly I could feel this profound sense of support and love and sacred energy in the room. What an incredible thing to witness-- yogis willing to be with themselves, stretching, taking care of their bodies, releasing.
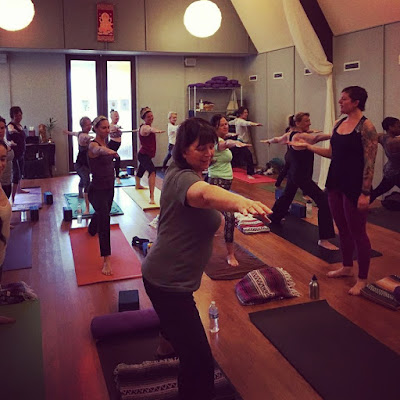
It felt so simple and pure, in a way. Just being together in a room. I was sitting there watching yogis do a spinal twist and close their eyes and just
be
. Nothing to do. Nowhere to go. Just resting and receiving a much-deserved rest.
And I felt this urgent longing in me to be close to them -- not to be in the back of the room near the music or up in the front on my own mat. I just wanted to be near them. In it, with them.
So I sat down and placed my palms face up and asked that Reiki would move through me and into the room, and help facilitate healing. I asked that their burdens could be released. I asked that they might feel love and healing. I asked for this process of healing to be immediate and profound.
And I could feel the healing come to me, too. For as much as I give when I teach, I also receive. I realized today that the more receptive I can be to the moment, the more healing the moment brings.
One girl in class had been crying while we were doing hip openers. I brought a box of tissues and set it by her mat-- didn't need to say anything or call it out. I offered a simple gesture to show her that she was supported, and in that moment I remembered all the times on my own mat recently when I'd cried.
Her vulnerability offered me the opportunity to be vulnerable. To be more open today.
Student is teacher is student
, I thought.
We are each our own best teacher.
Often I've had this perception that I need to hold the room
, or I've had the goal to create something incredible and breathtaking in a class... to bring in a theme or offer up a song that fits perfectly... but often it seems that the more I try to plan something, the less authentic it feels.
I've realized how powerful it is simply to show up and to be receptive to what's going on in the moment. To teach from the space I'm in, whether that's a tired and grumpy space, or a joyful one. Even if I'm hesitant, fearful, depleted, overwhelmed... I can still teach.
And from this place of authenticity, my students feel permission to be authentic. To be vulnerable. This is what creates the powerful experience of yoga.
Being willing to sit with what is. Being
willing to cry, or to lie there silently in a spinal twist and just feel everything that is sacred in the room, and how transformative this practice is.

Teaching yoga today was a gift.
May this practice continue to help me be receptive, and may it touch you to be more open, too.
Namaste.


Alive in the Fire is a blog inspired by practicing yoga mindfully, teaching from the heart, giving hugs, and living a badass life.
Alive in the Fire is a blog inspired by practicing yoga mindfully, teaching from the heart, giving hugs, and living a badass life.

work with me

Sponsored Yogis
Donations help keep the programs and yoga classes at Alive in the Fire available to those in need. Your generosity is greatly appreciated!

Copyright 2017. All rights reserved - Alive in the Fire. Design by Hello Big Idea.


Are you a yoga teacher who’s returning to teaching yoga after a break? Whether you're on the fence about taking on a new class or have already started teaching again, here are tips for navigating the transition.