Tips for Crow Pose (Bakasana)
/
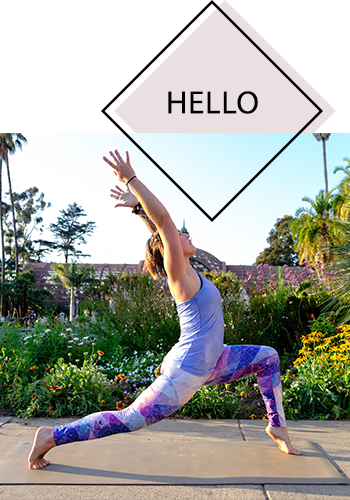
Lately I've been working on my crow pose :) Do you enjoy bakasana? Here are some tips.

Photo by Justin Kral.
1. Stretch the wrists first. As with any vinyasa practice, it's important to warm up your wrists before you spend a bunch of time with your hands on the mat. I recommend placing the palms face down with the fingers pointing back toward you, also flipping the hands over so the backs of the hands are flat on the floor. In both of these positions you can do a gentle micro-movement forward and back, or right and left. Afterward, make fists and release, maybe shake the hands a few times too. Deep breaths while you're stretching the wrists -- take it slow! Do stretches that feel good to you.
On that note, also consider that when you are in crow pose, you're using your fingers to grip the floor (think tips of the fingers turning white), not putting all the weight in the wrists. You can read more about having active hands with arm balances here.

Photo by Cait Loper.
2. CORE FUN! Crow pose is all about core strength. A few things I've been doing lately to build up core strength:
- 8 minute abs (hilarious video from the 1980s - watching it, you totally forget that you're working out because it's so funny)
- Ashley Galvin's 'BodyStrong' videos on the Cody app (seriously incredible workouts)
- Sadie Nardini's 'Ultimate Yoga Shred' videos on the Cody app (love her)
- pushups and long plank holds

Photo by Jobi Otso.
3. Consider mula bandha lift and be sure to use your gaze effectively. When you come into crow pose, lift UP from the pelvis, and lift IN with the navel. You can think of it as lifting up through the booty, the belly AND the heels. (In these photos, you can see I still have quite a bit of work to do to lift the feet up farther toward my bum.)
Also, place your gaze a bit in front of you to keep the chest lifted. Put your gaze about one foot in front of you, and lock it there. Gaze set, then begin to tune into the strength in your body-- deep core line. Placing the gaze strategically helps with balance and with weight transfer. (Added bonus step is to smile right here, before you shift forward :)

4. Prop it up! One of the best ways to start working on crow is to place a block under the feet first. This helps raise the hips a bit extra (note that it also raises the rest of the body a little, so if you fall, you fall a little farther!). You'll see in the photo above I've started using my Dharma Yoga Wheel for support while practicing straightening my arms. Another option for propping is to allow your head to touch a wall as you shift forward (usually you have to readjust a few times to see how far away from the wall you'll need to be). Finally, pillows in front of you are always an option, too!


5. Work on tripod headstand and lifting and lowering the legs. From the tripod headstand, start to lower the knees onto the arms, moving SLOWLY and using the core. You want to get the knees in the armpits as much as possible. From here, you can take the legs back up. Do 5-10 reps of up and down each day and pretty soon you'll be ready to lift up into crow right after. If traditional headstand with the forearms is your preferred version of the pose, play with lifting and lowering the legs just using the core. I'm definitely still working on this one but it's amazing how quickly the core strength builds :)
Do you have any other tips that have helped you master crow pose?
PS Love this article on tips for overcoming fear in crow pose.